Two weeks with Prusa i3 MK3S+
Difference between small and big boys? The price of their toys! So well here it is, my new toy → Prusa i3 MK3S+ 3D printer.
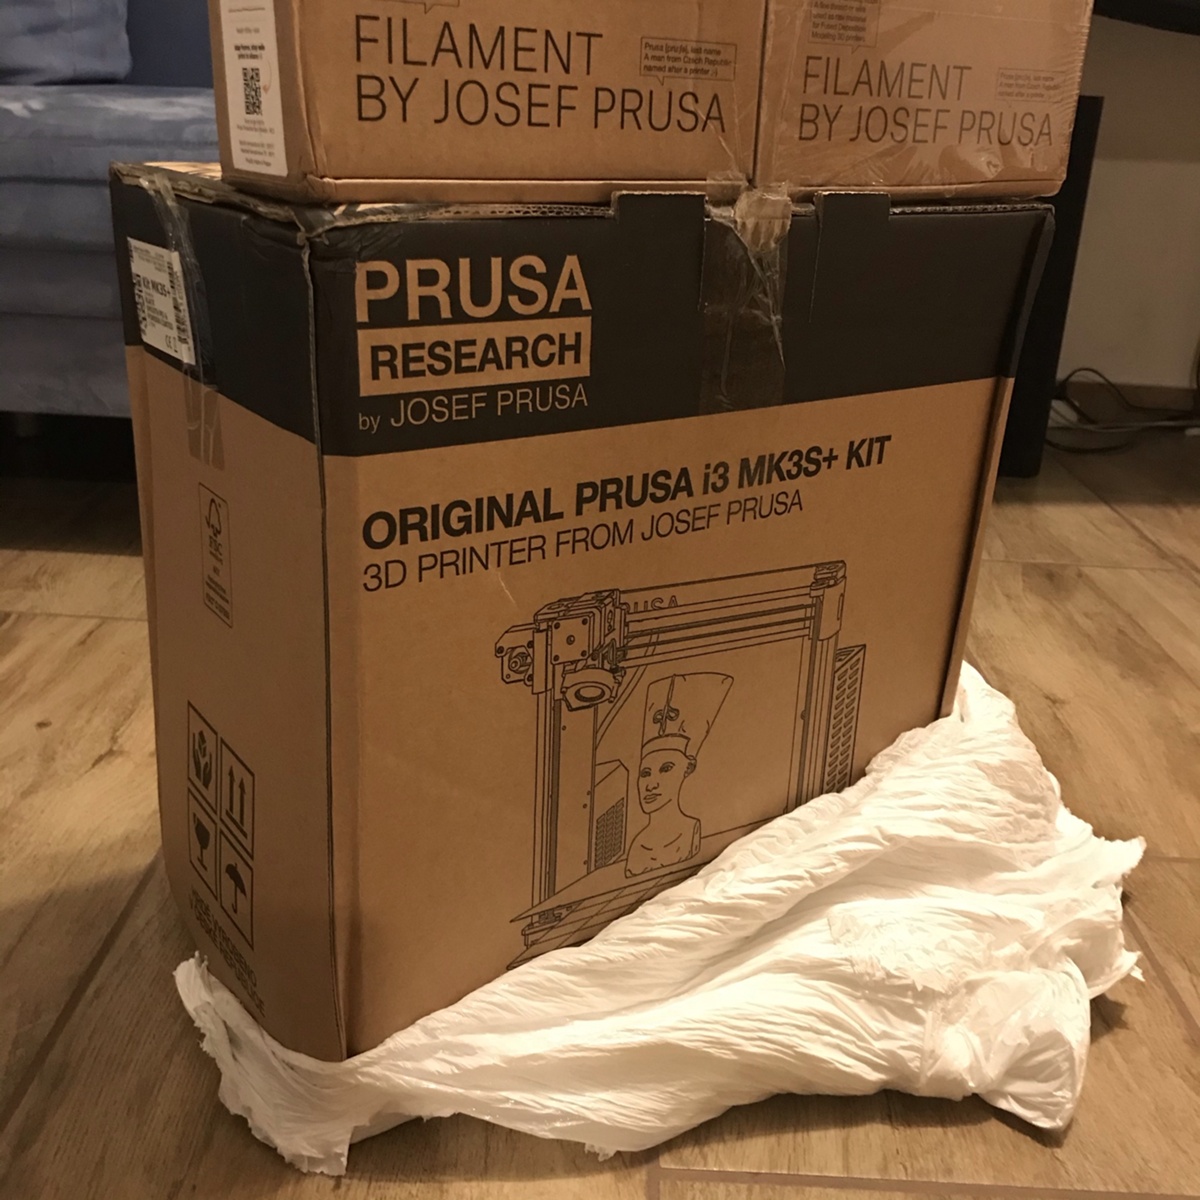
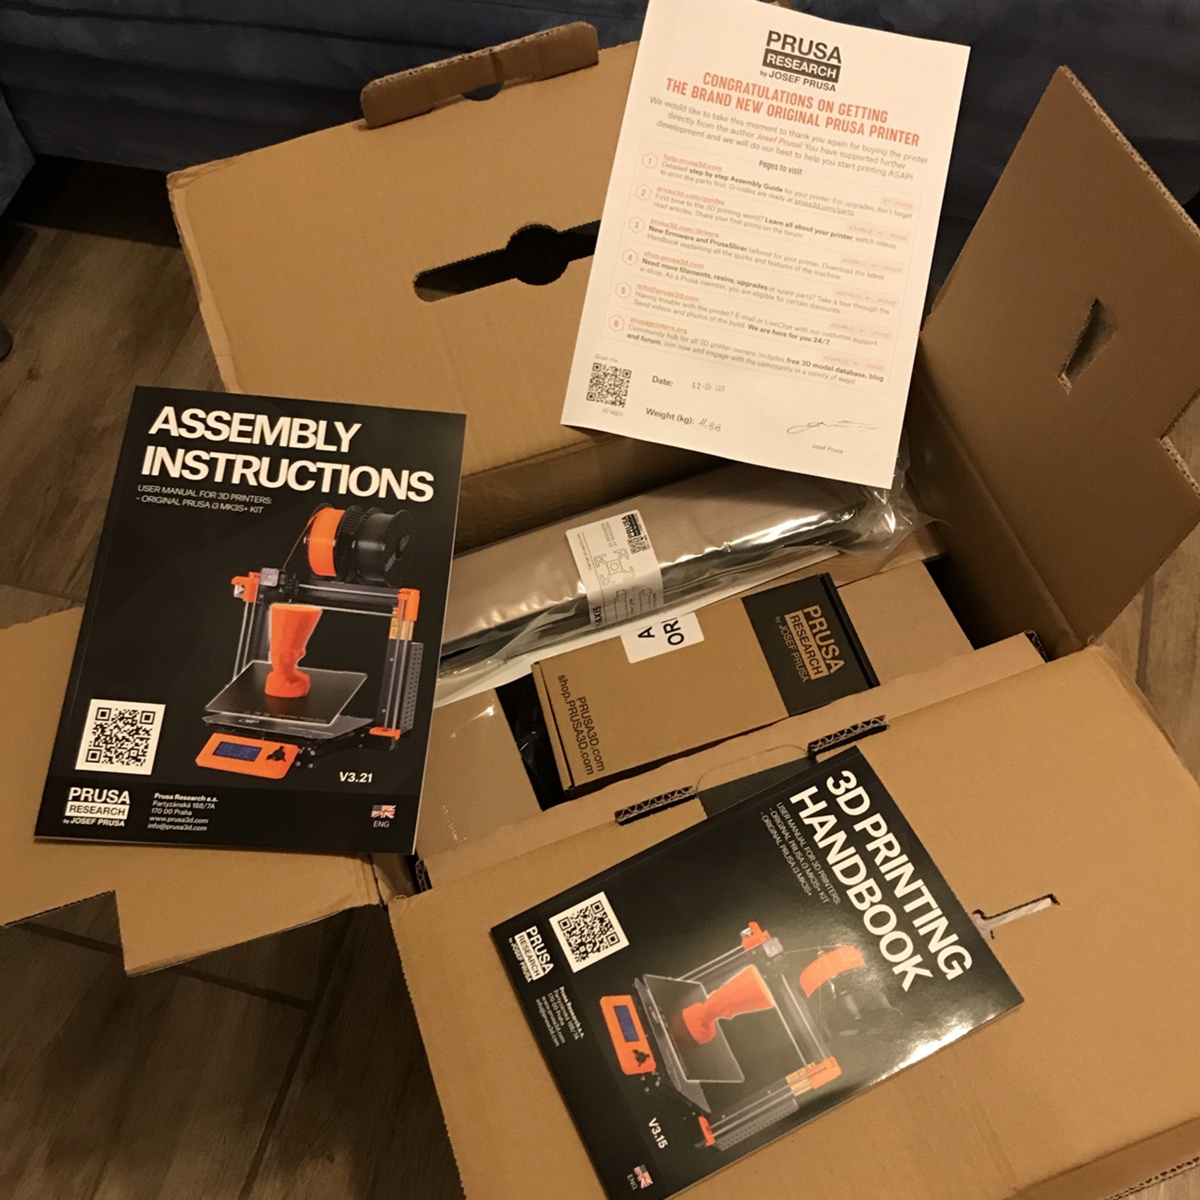
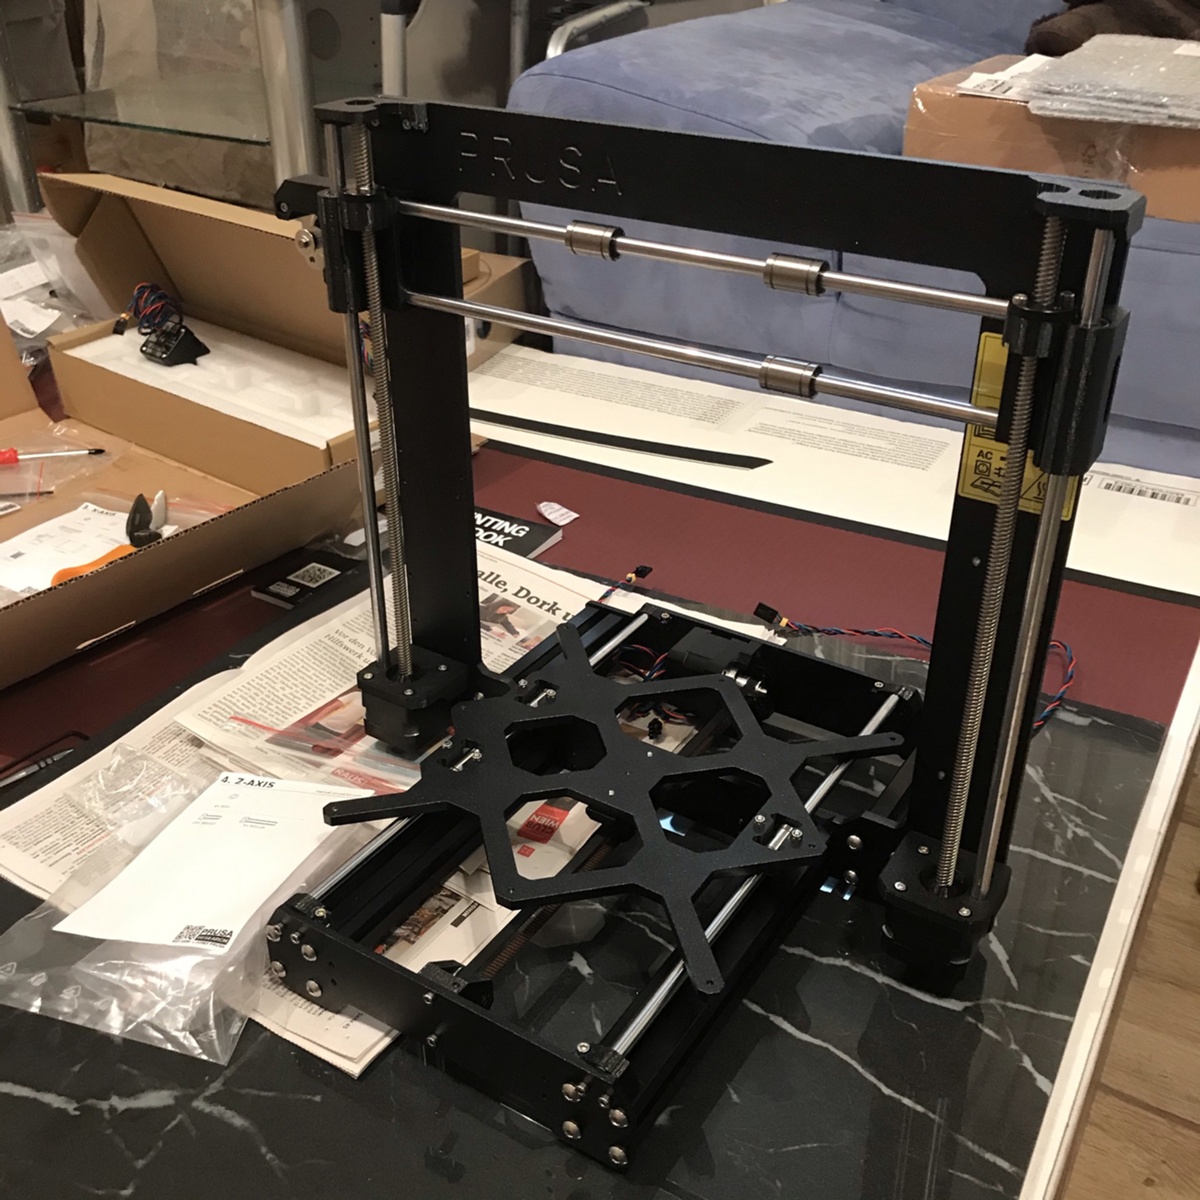
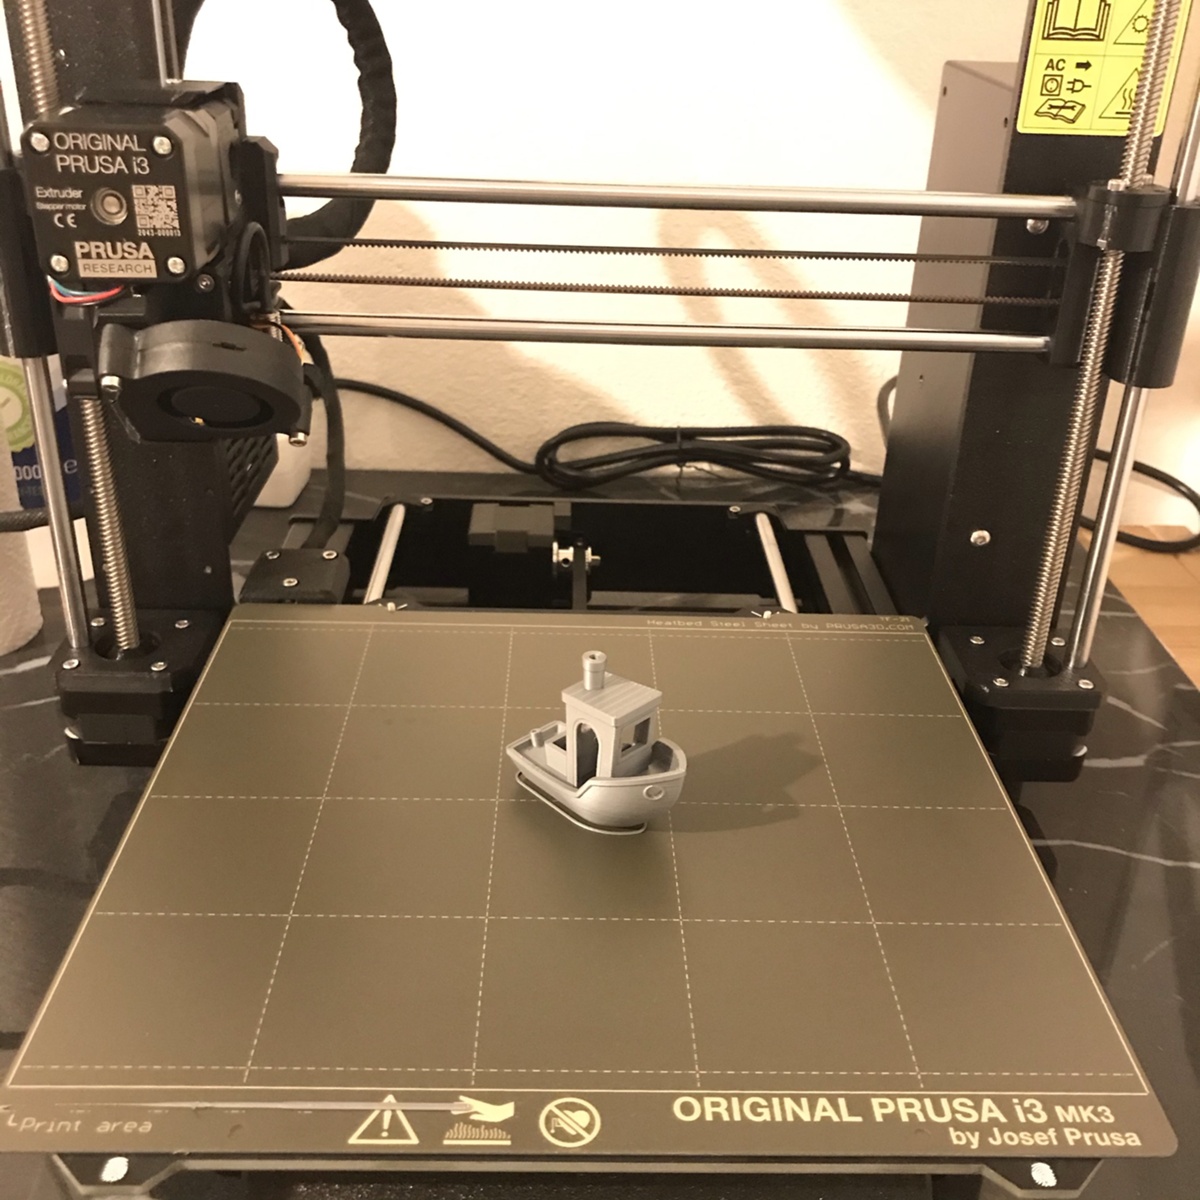
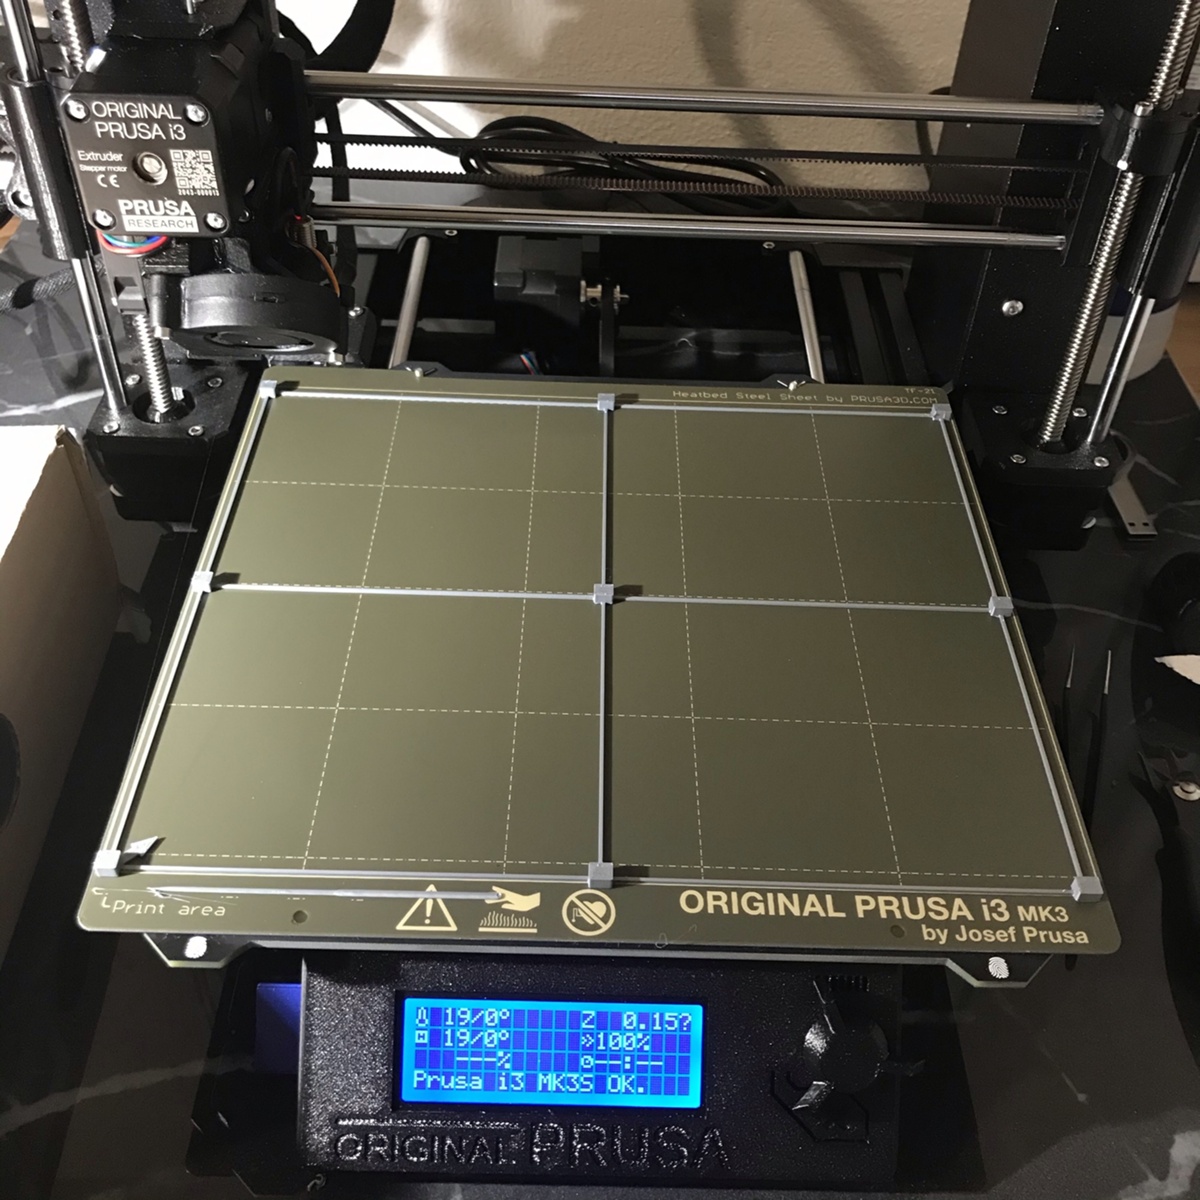
Just arrived
First of all - this device is amazing, absolutely love it. The concept that it comes as kit with assembly instructions means that the fun begins by putting it together. It also means that it can be repaired, modified or improved if needed. A real maker tool made for makers. Would be great if there will be more deviced with public designs and with common assembly/repair spare parts.


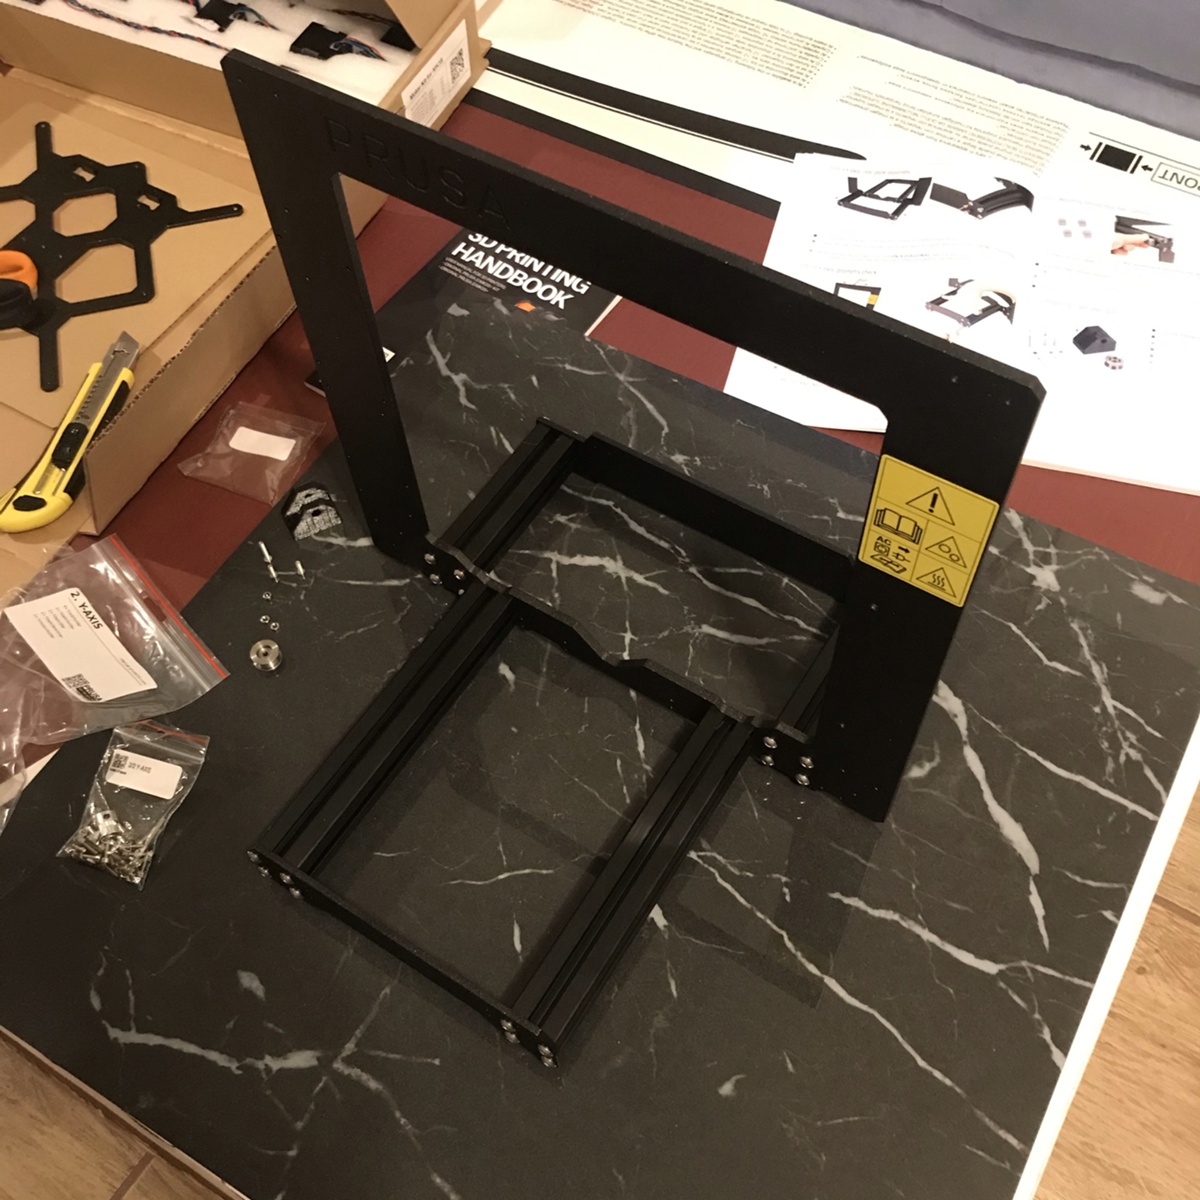
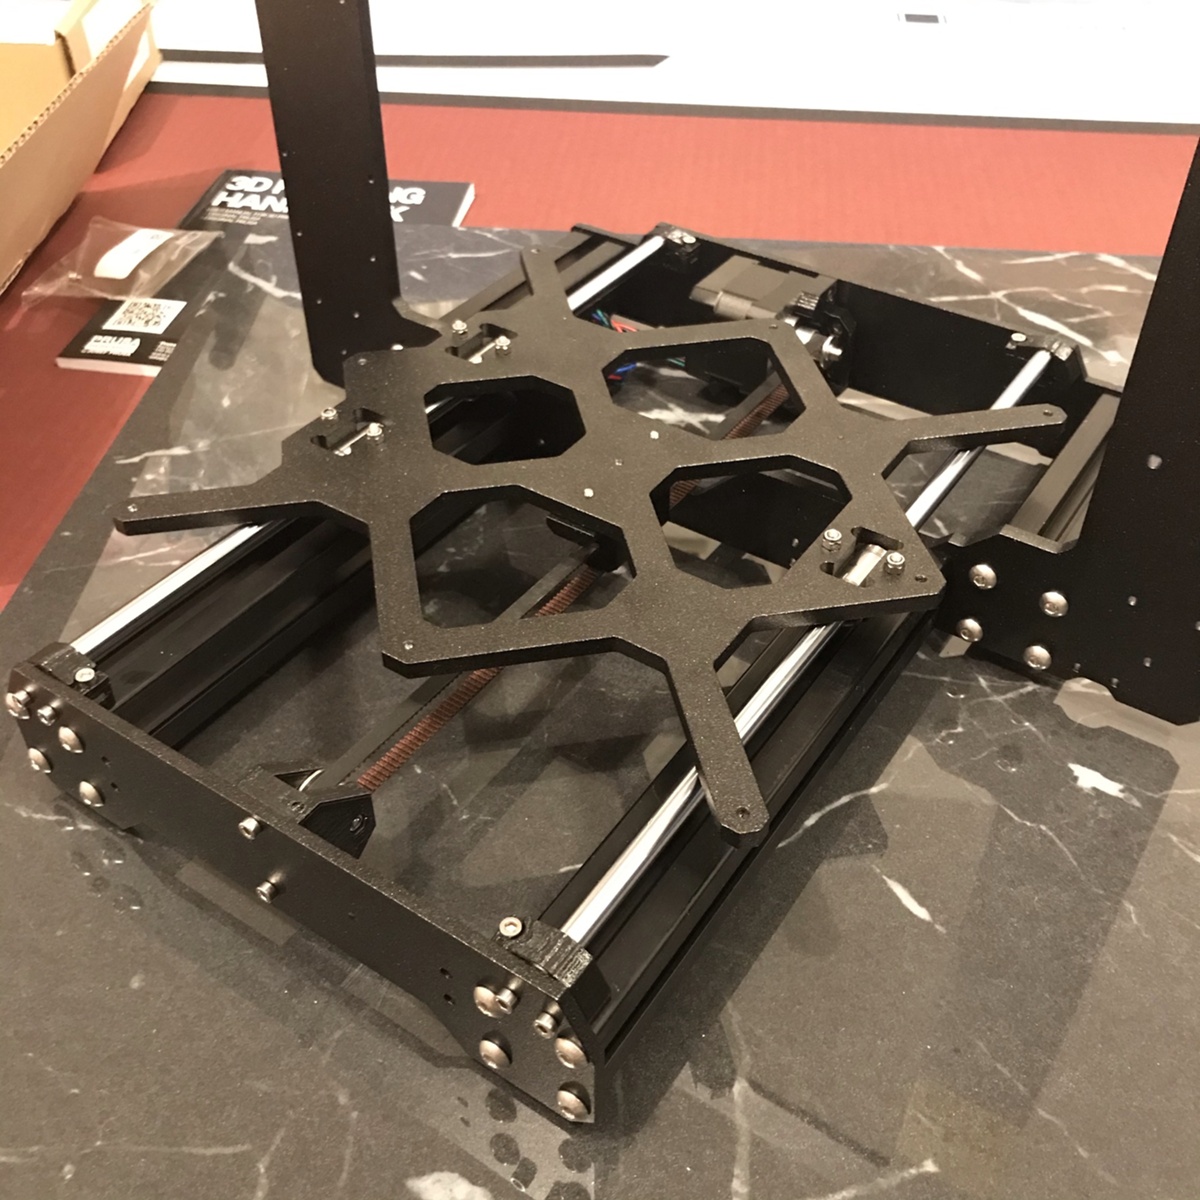
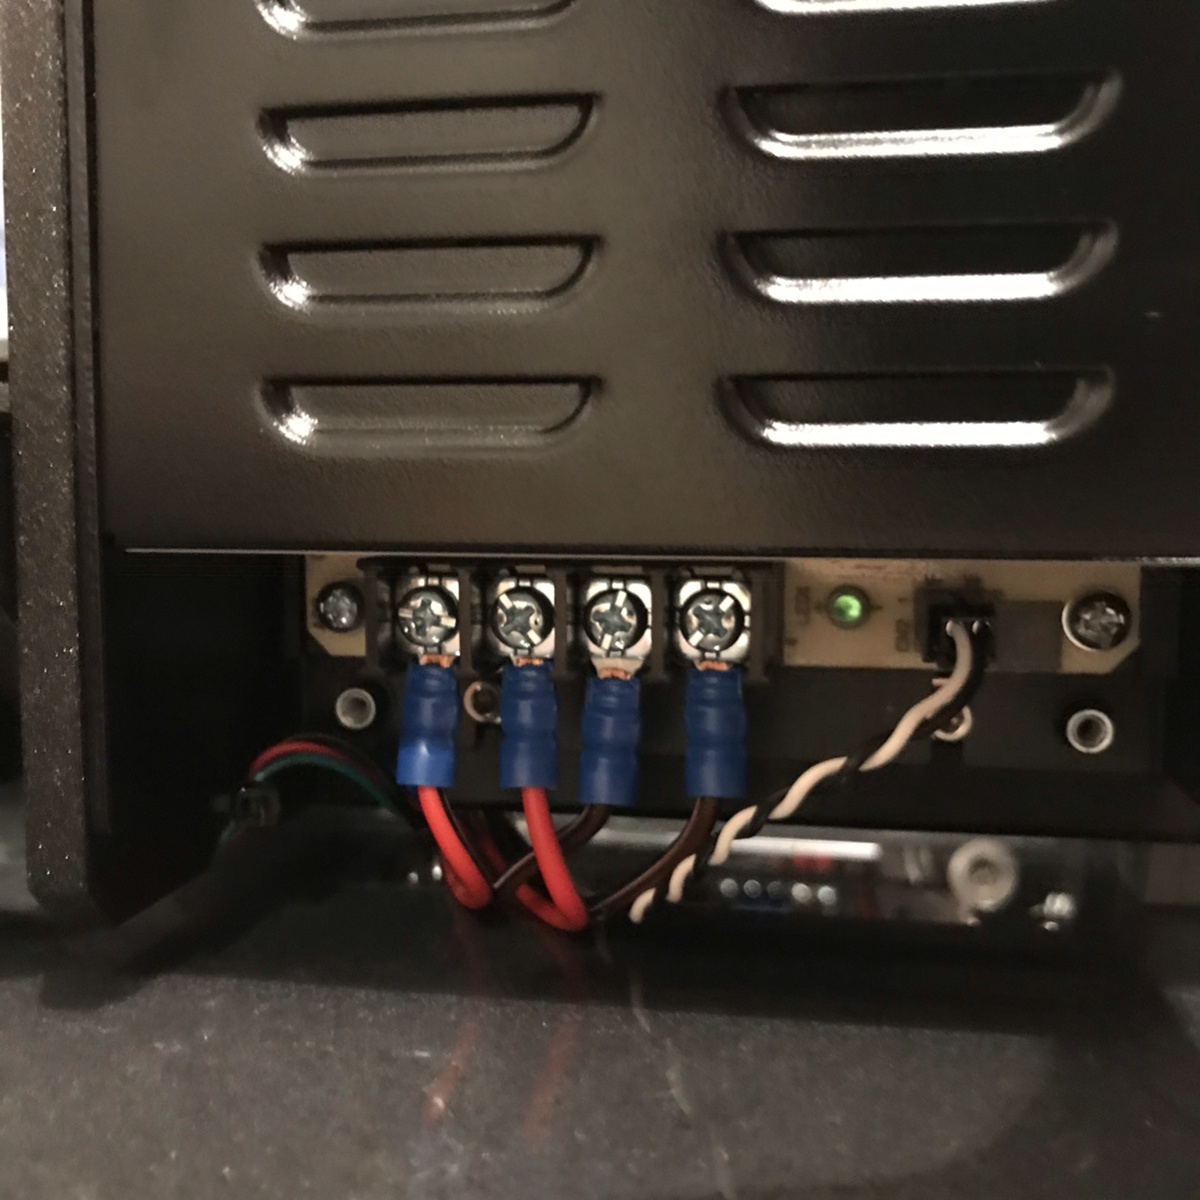
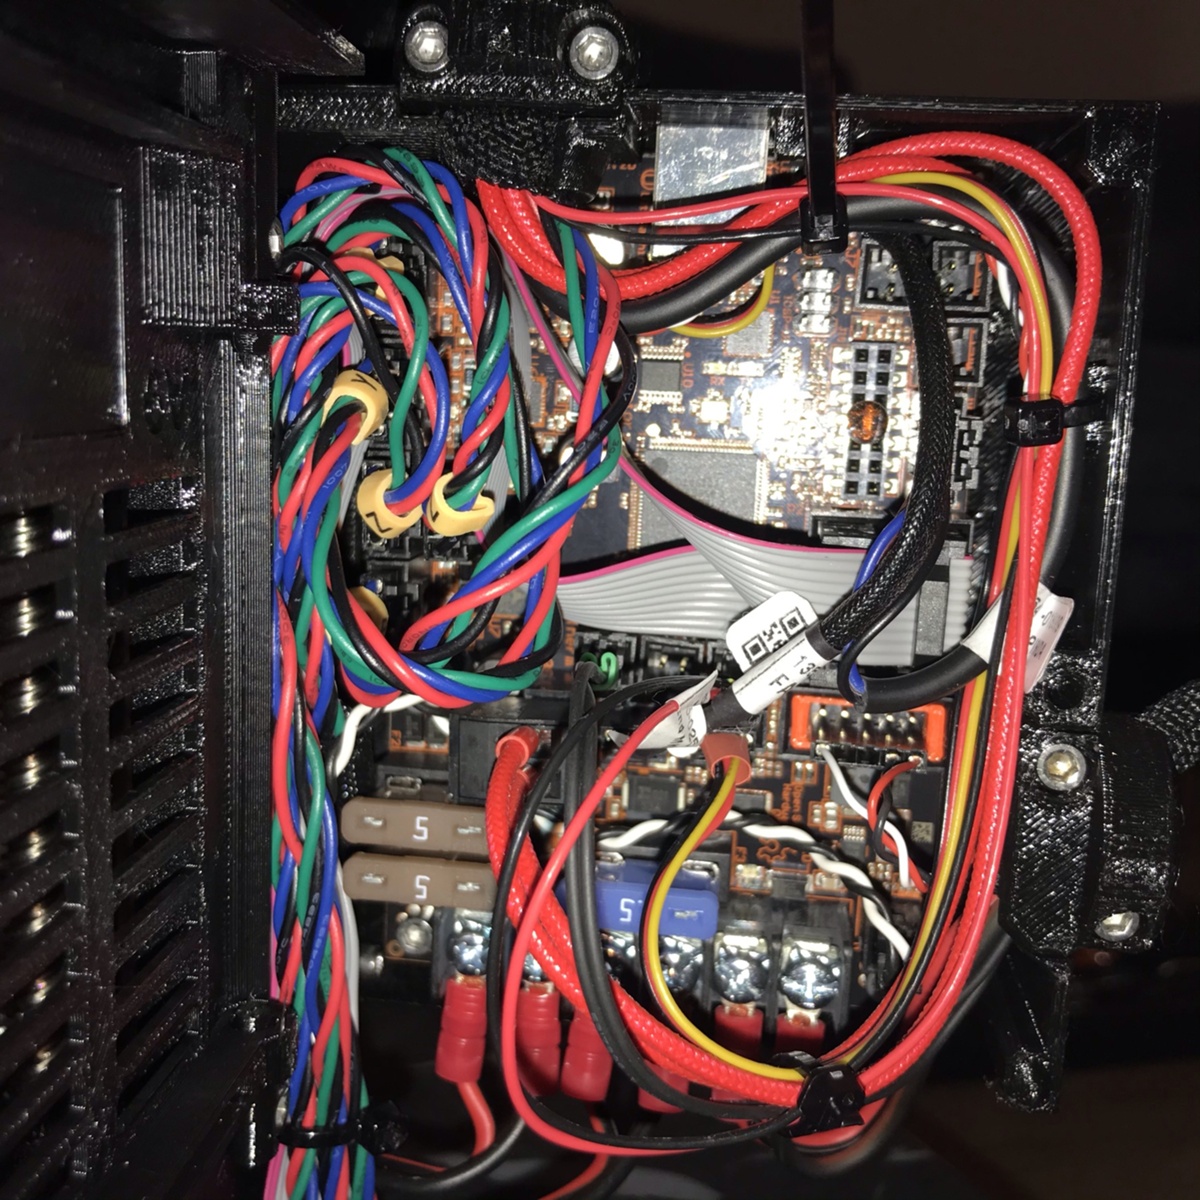
Assembling
Took me one weekend to build, was not easy, but given enough patience doable.


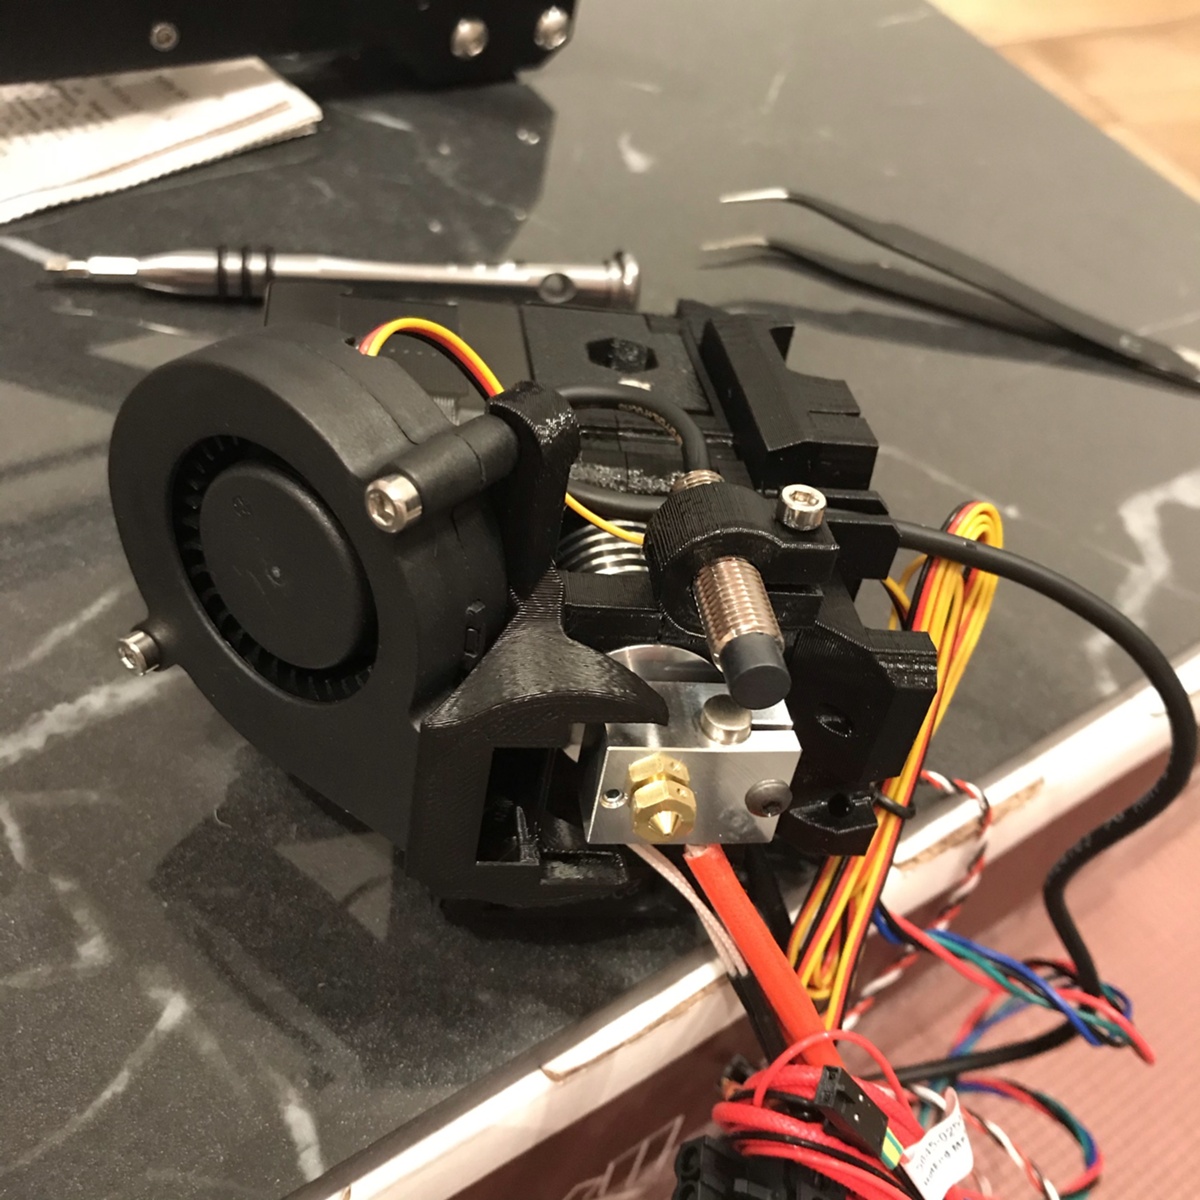
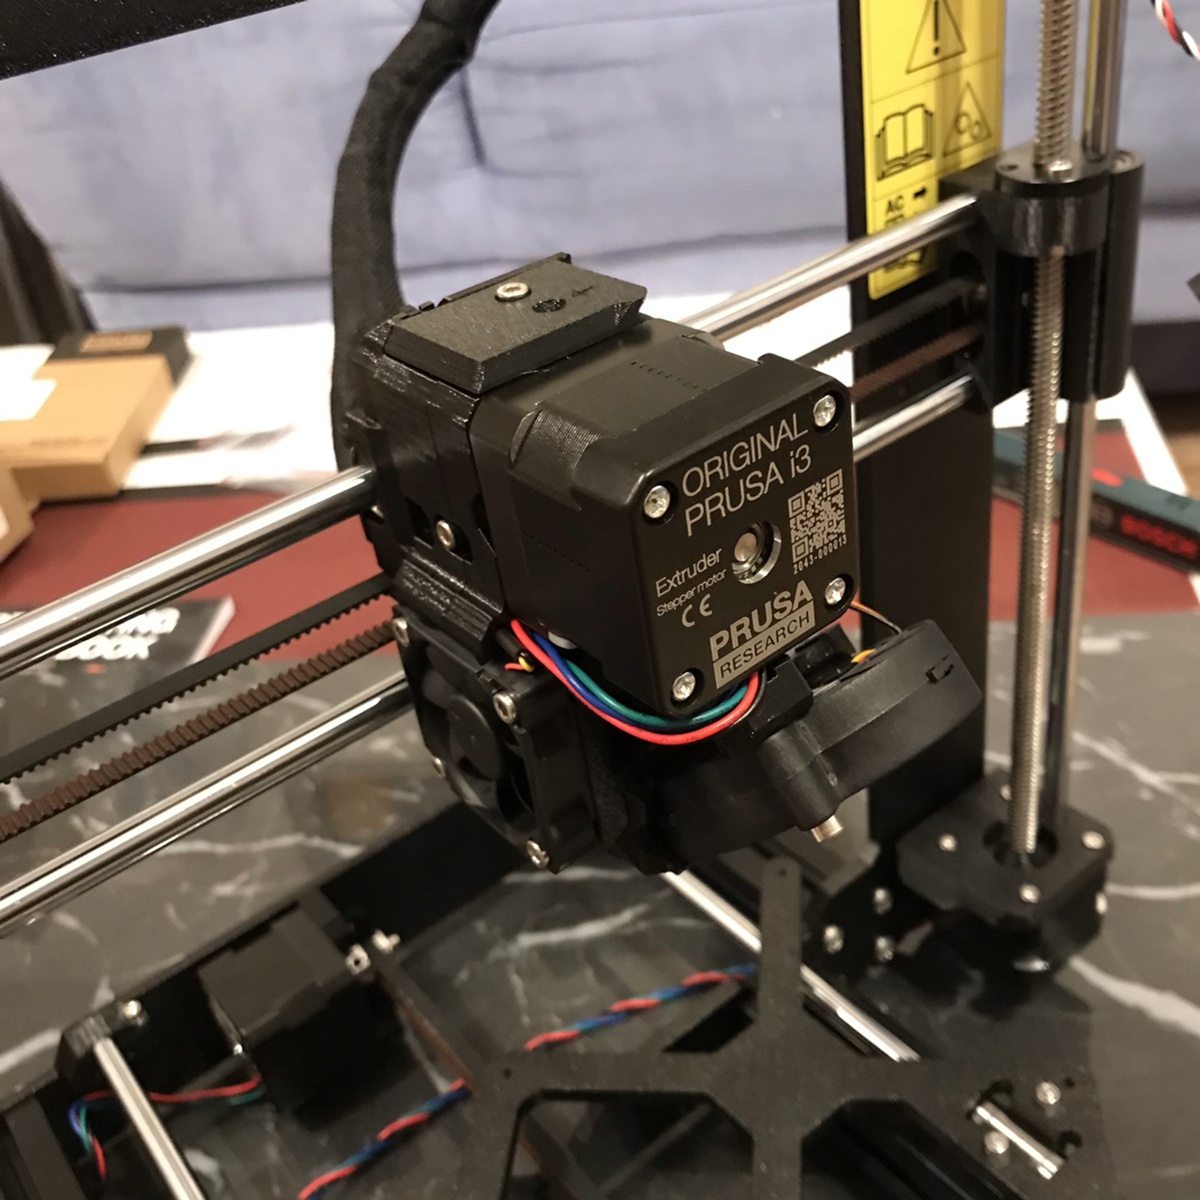
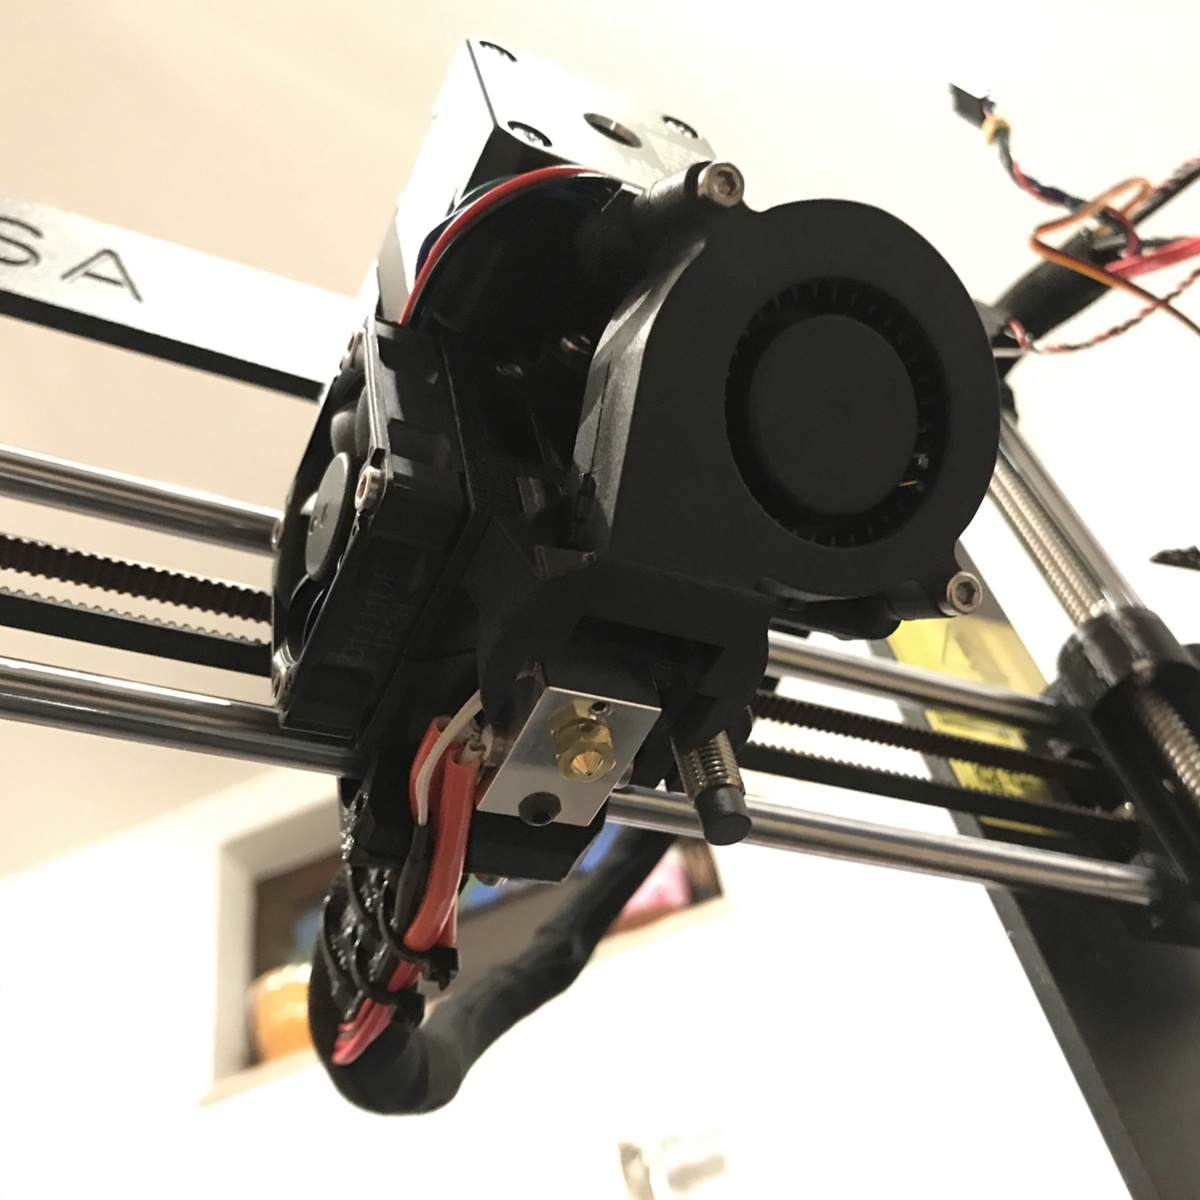


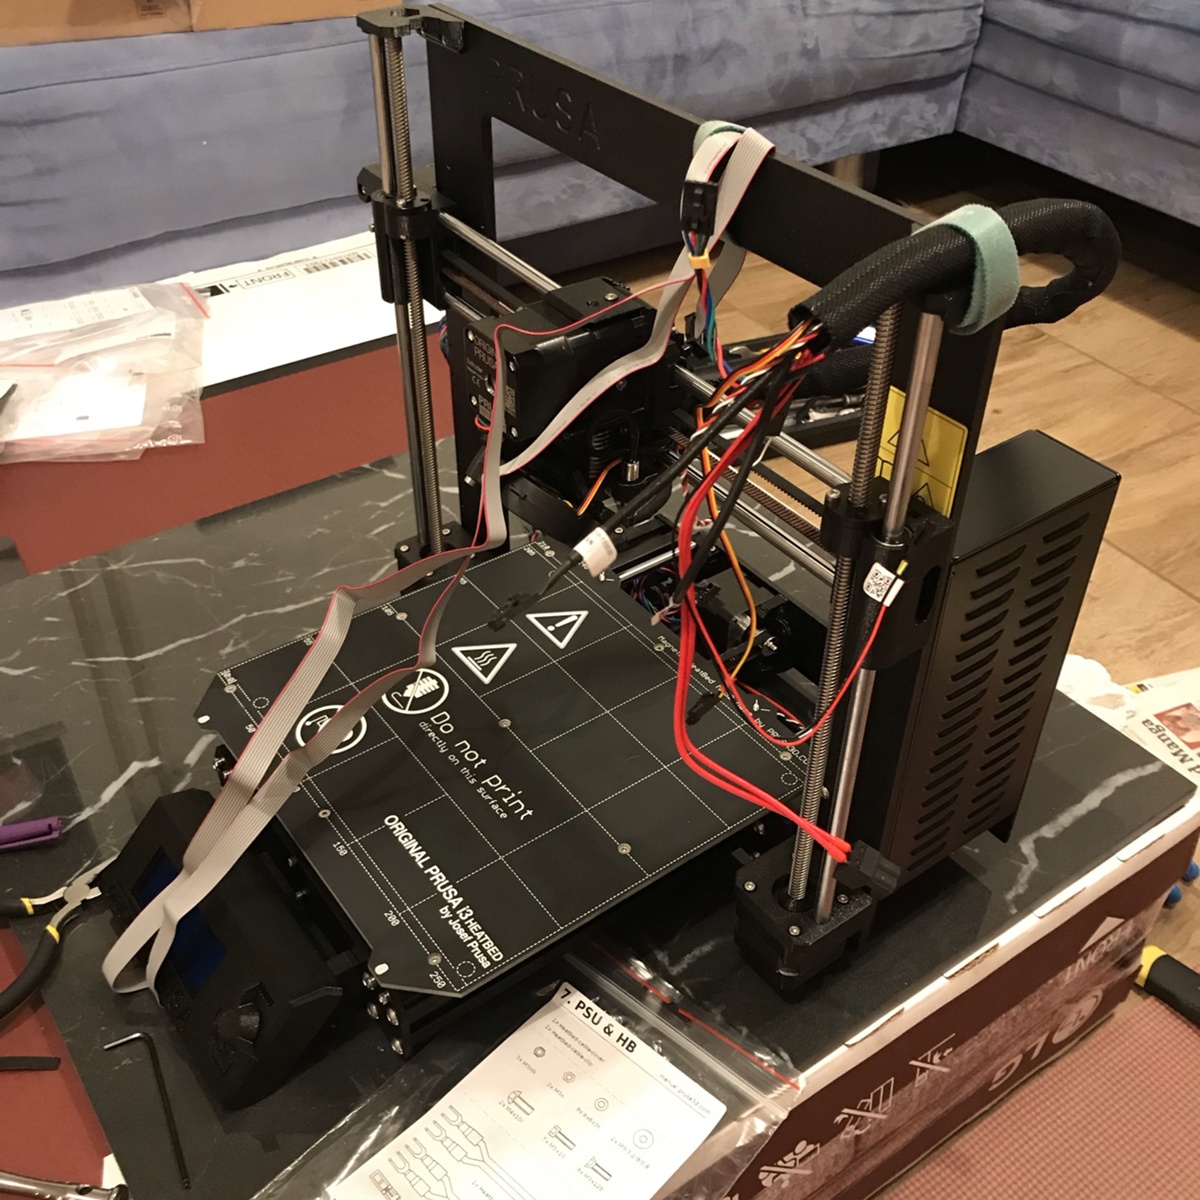

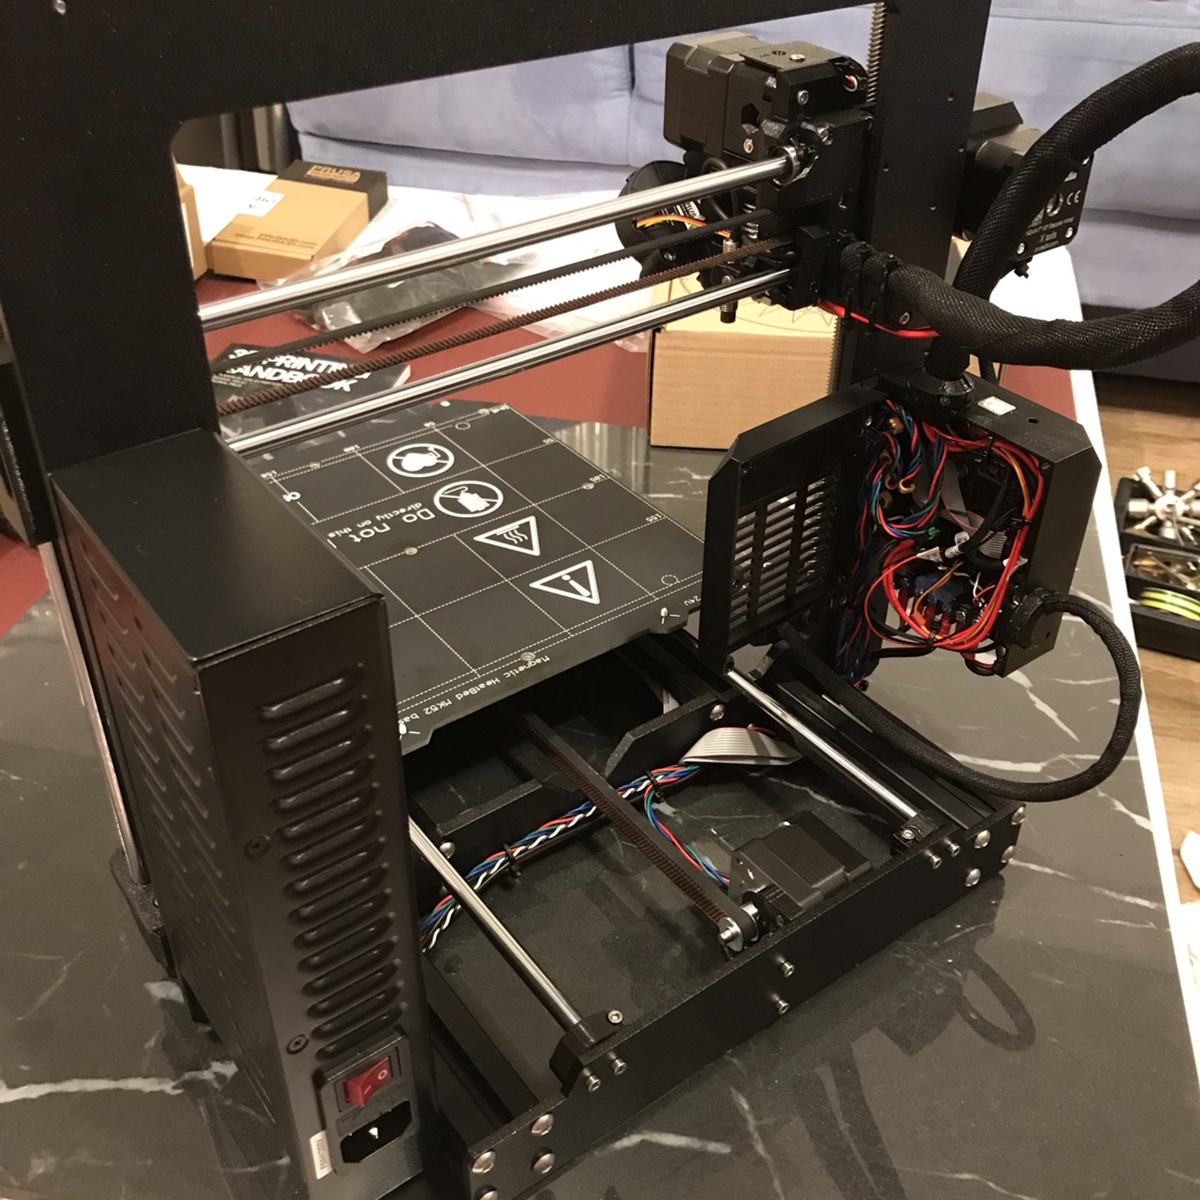


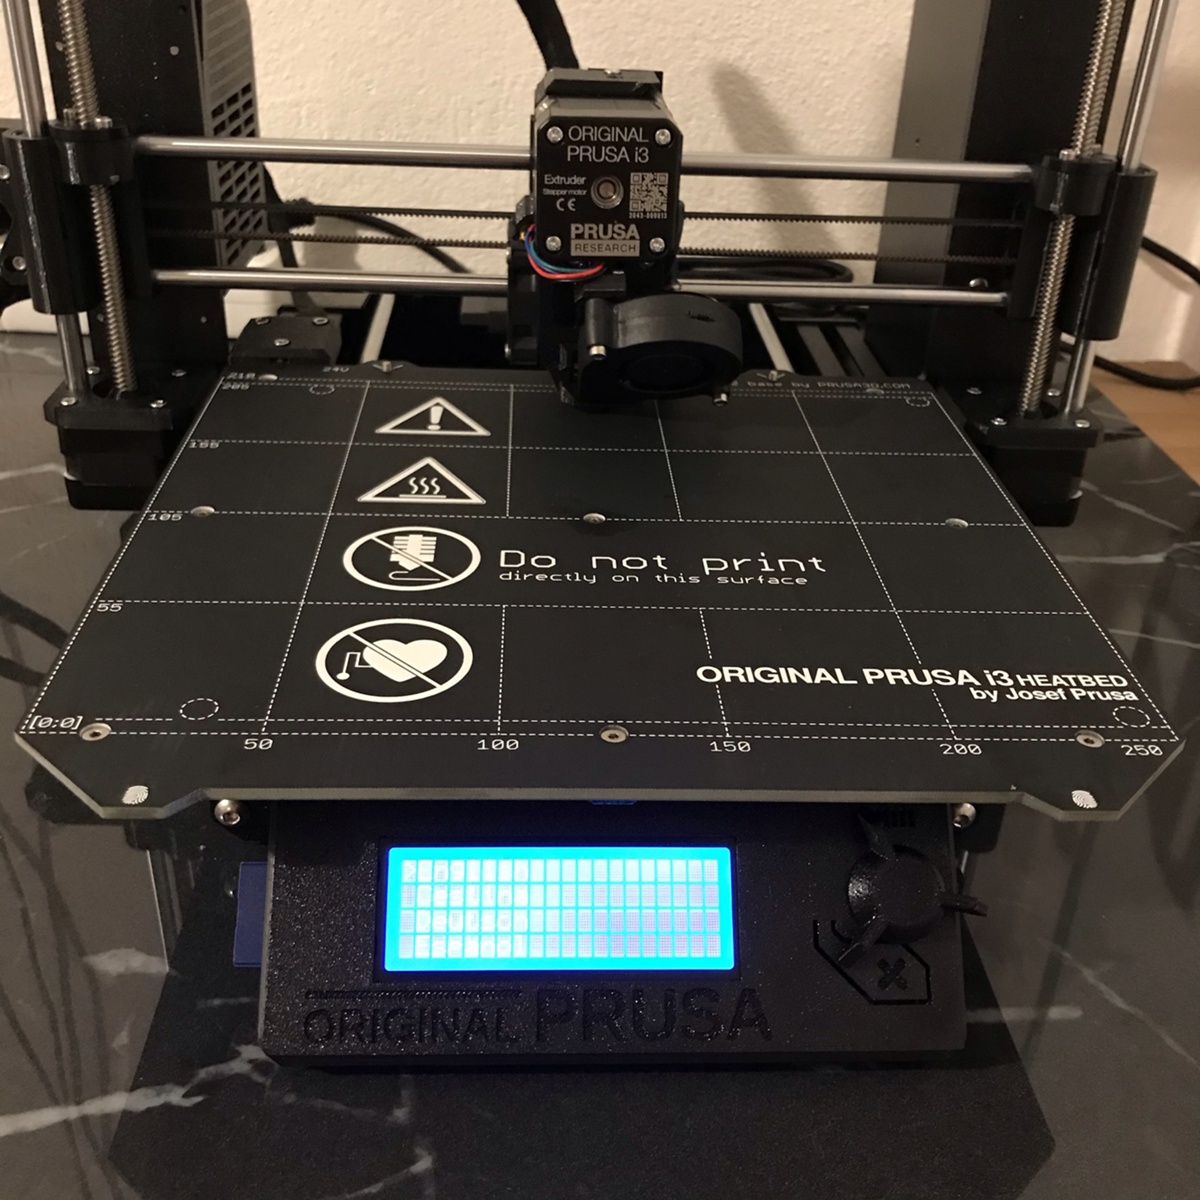
And done. \o/
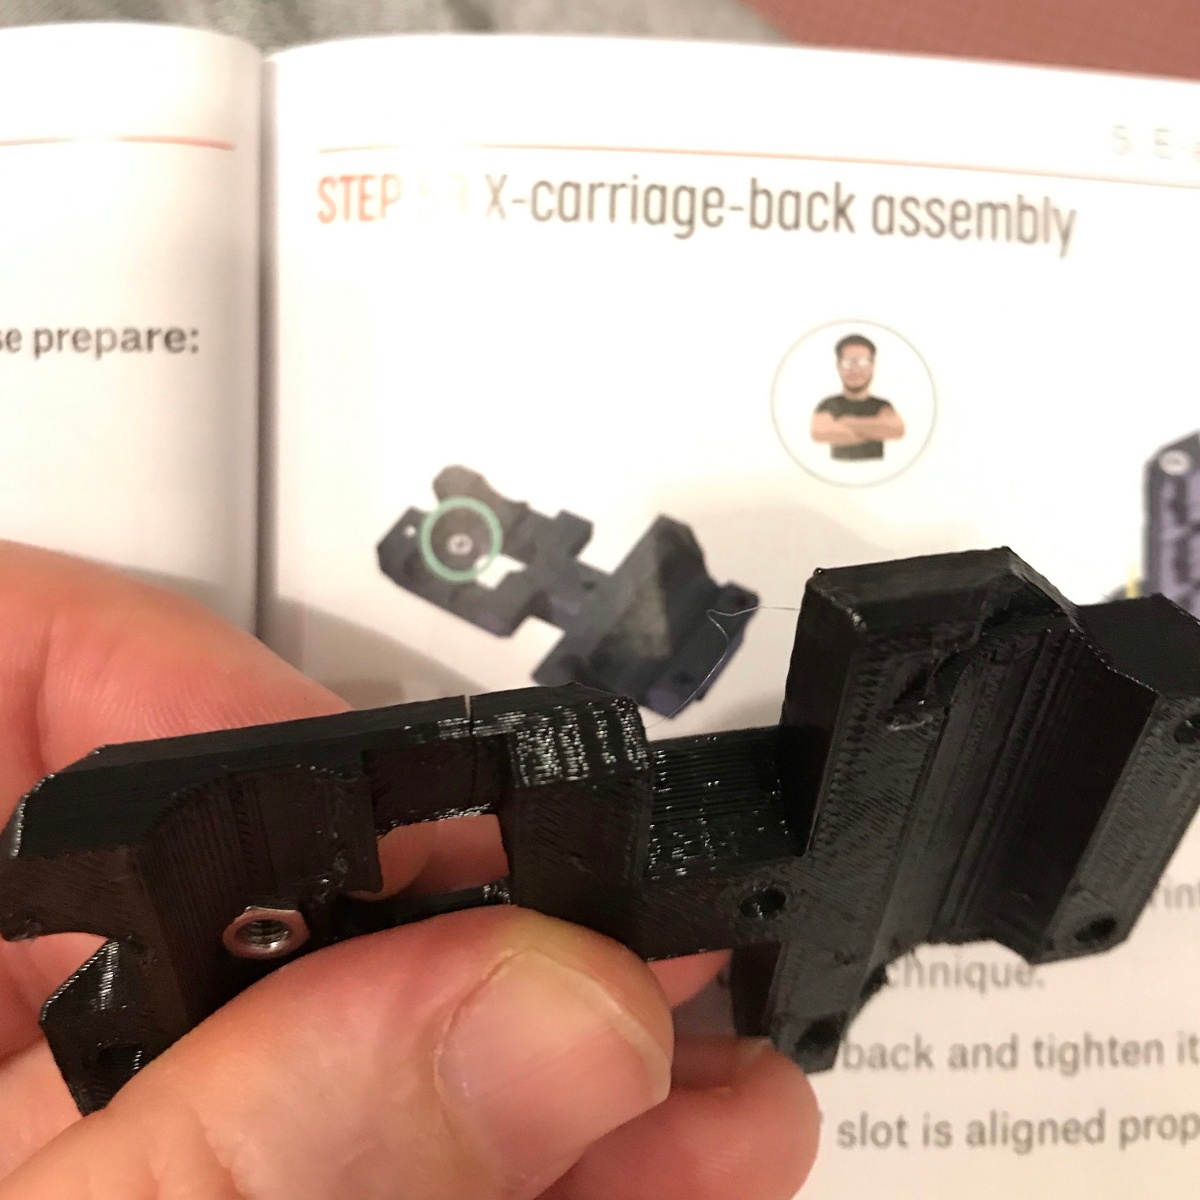
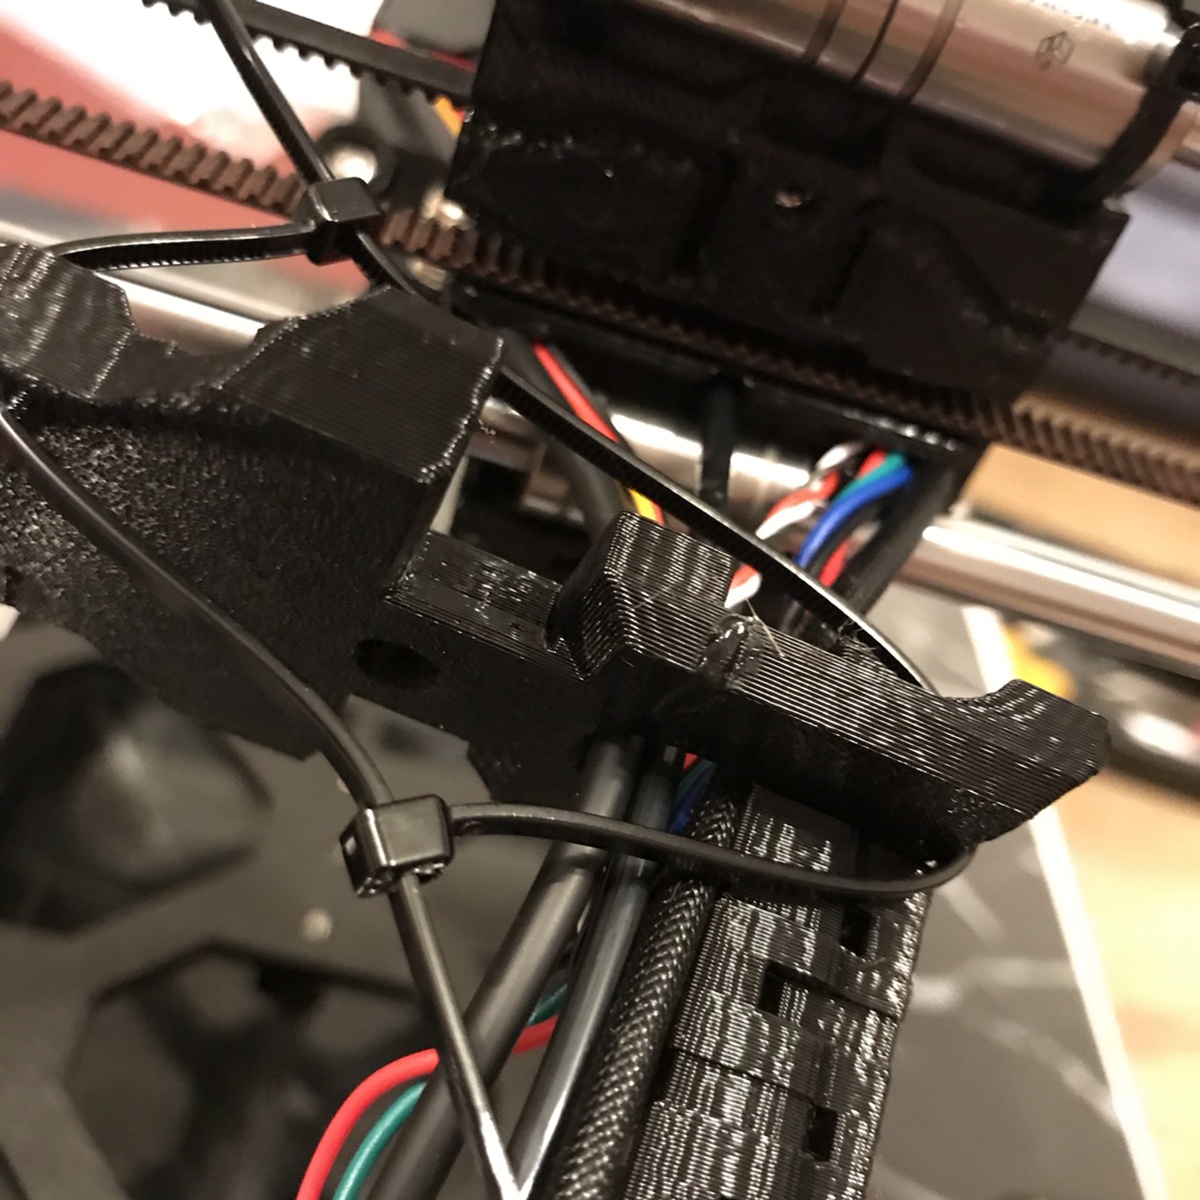
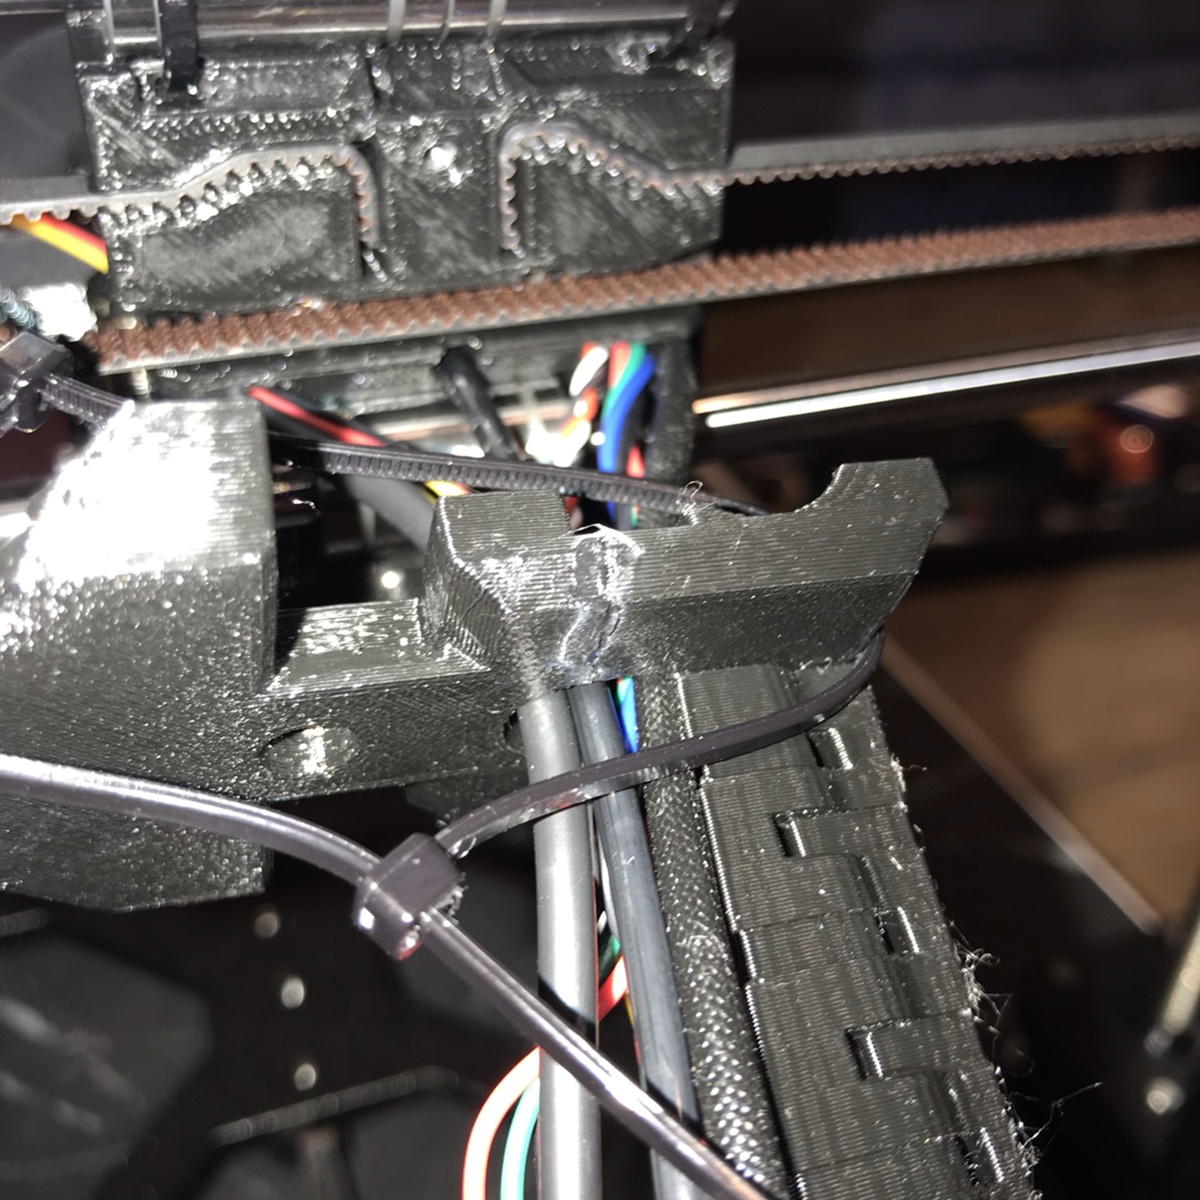
One step was specially confusing 5. E-axis assembly → Step 56 - Nylon guide assembly there are 24 comments already, which means it needs clarification. There guide writers could do a better job by explaining what is this what they call "NYLON filament" for. It's there to reinforce the cables so they are not bent over and over during x axis movements. This "filament" should be cut with sharp knife on it's end, so that it does not deform and afterwards pushed into the hole so that it doesn't come out again. It's goal is to be stucked there in this hole. That's all.
Testing...


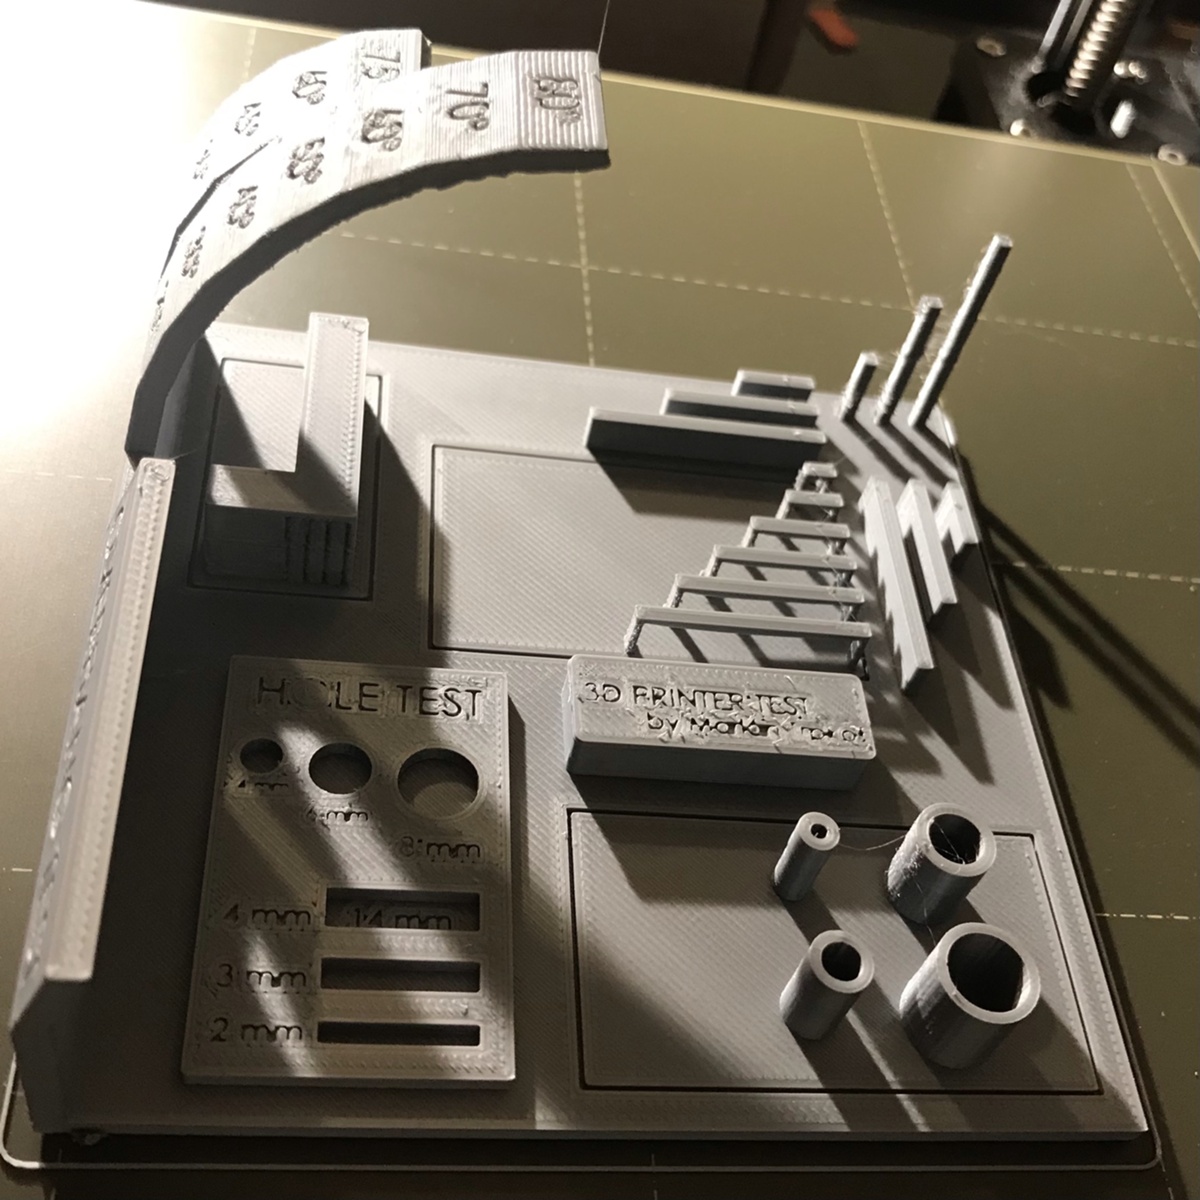
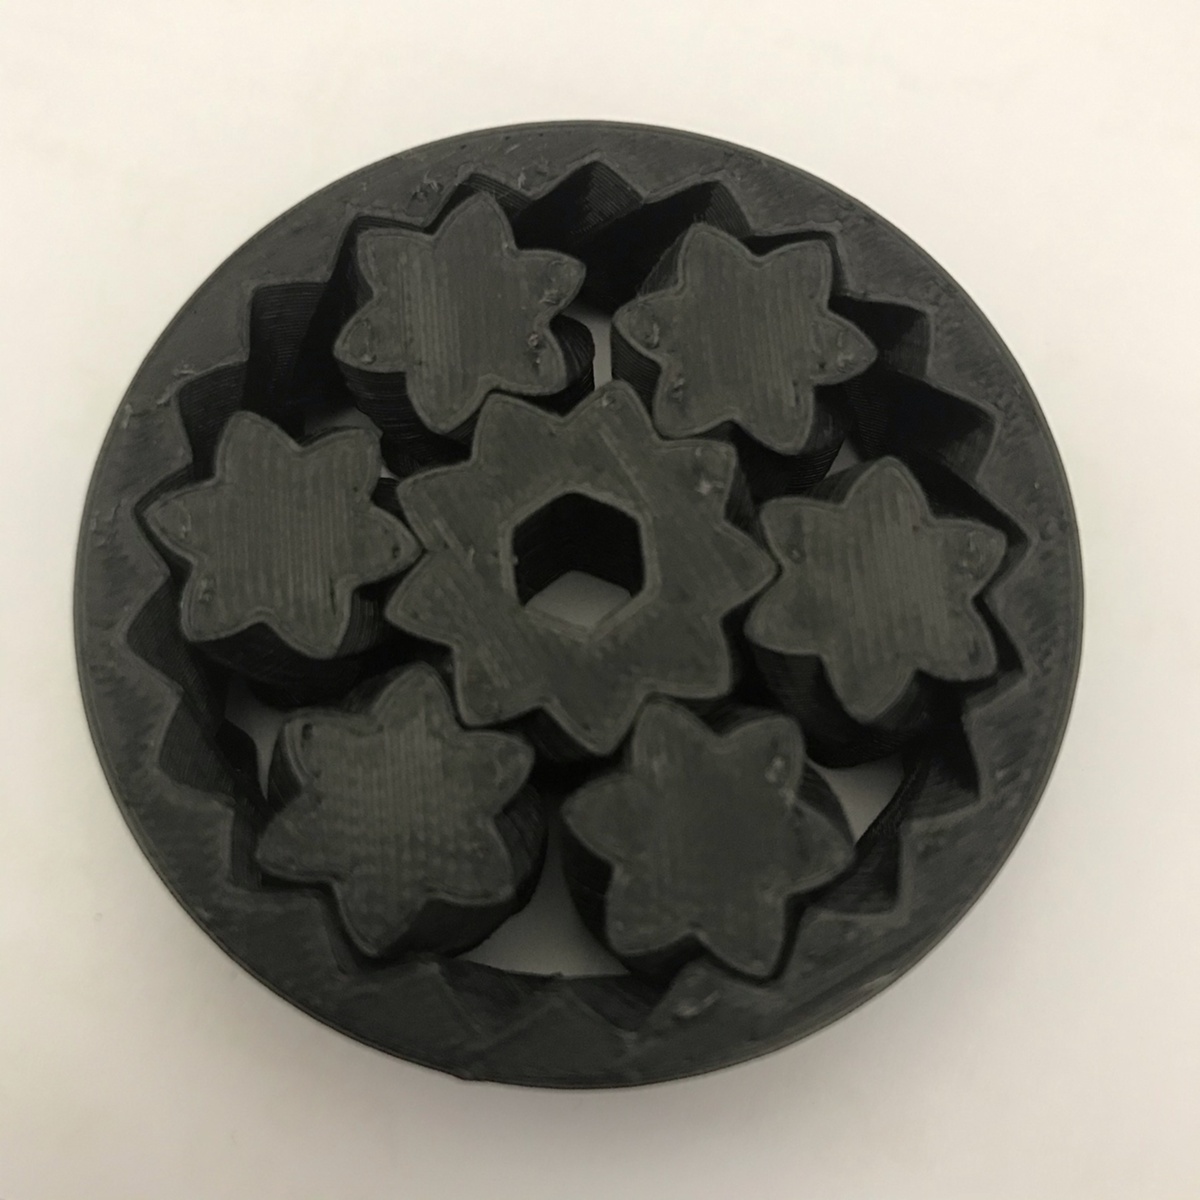
designed a little accuracy test → print-accuracy-test.FCStd (Freecad 0.19), print-accuracy-test-acc-test.stl, print-accuracy-test-acc-test_0.1mm_PLA_MK3S_43m.gcode


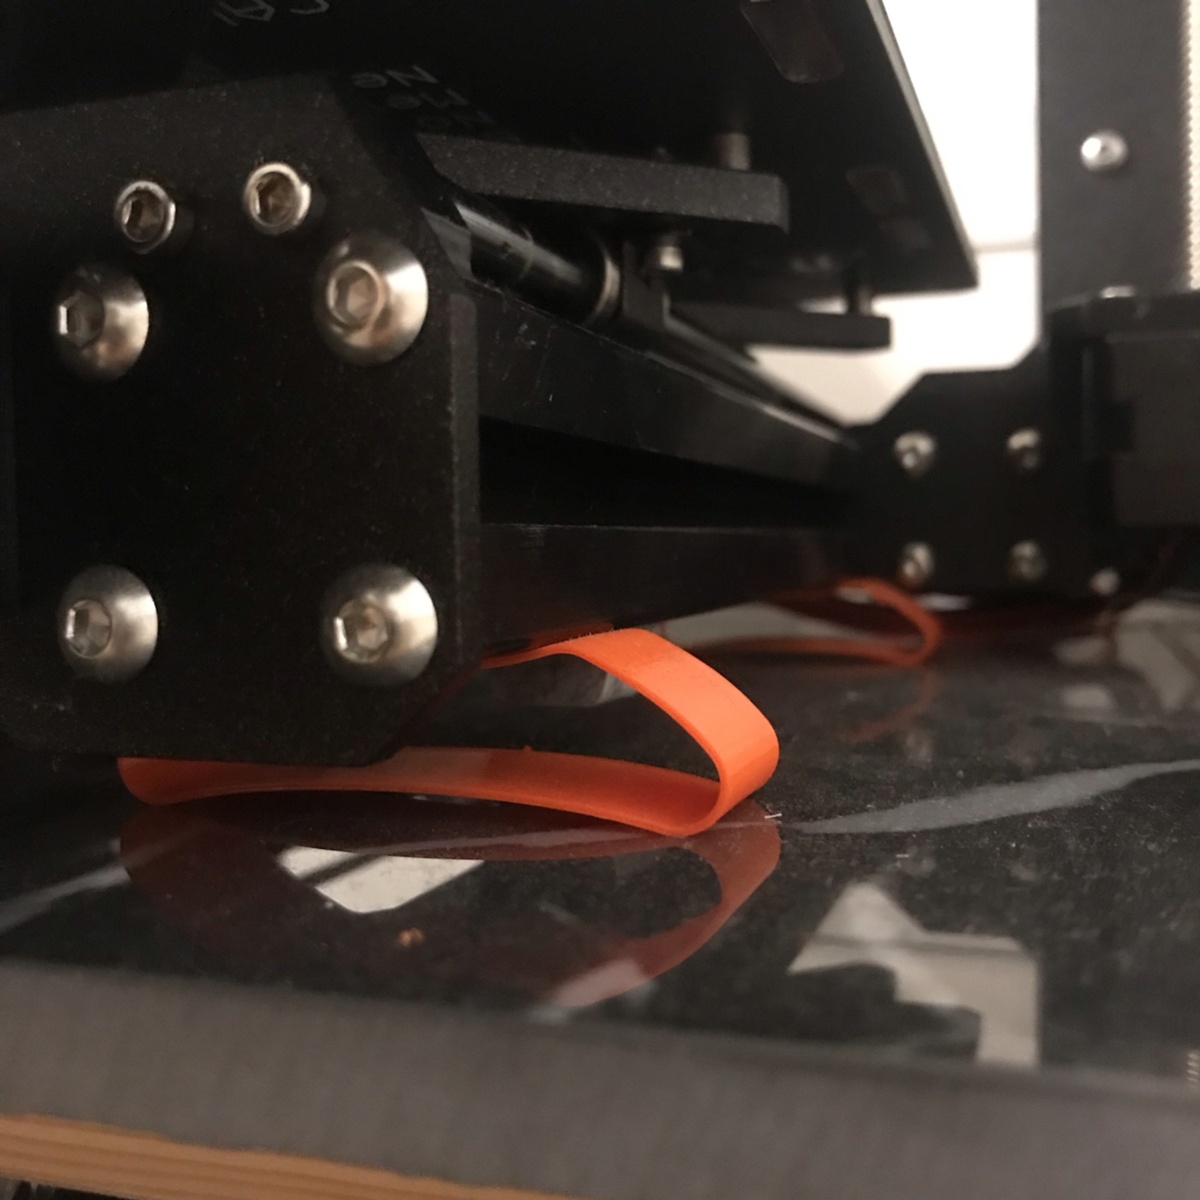
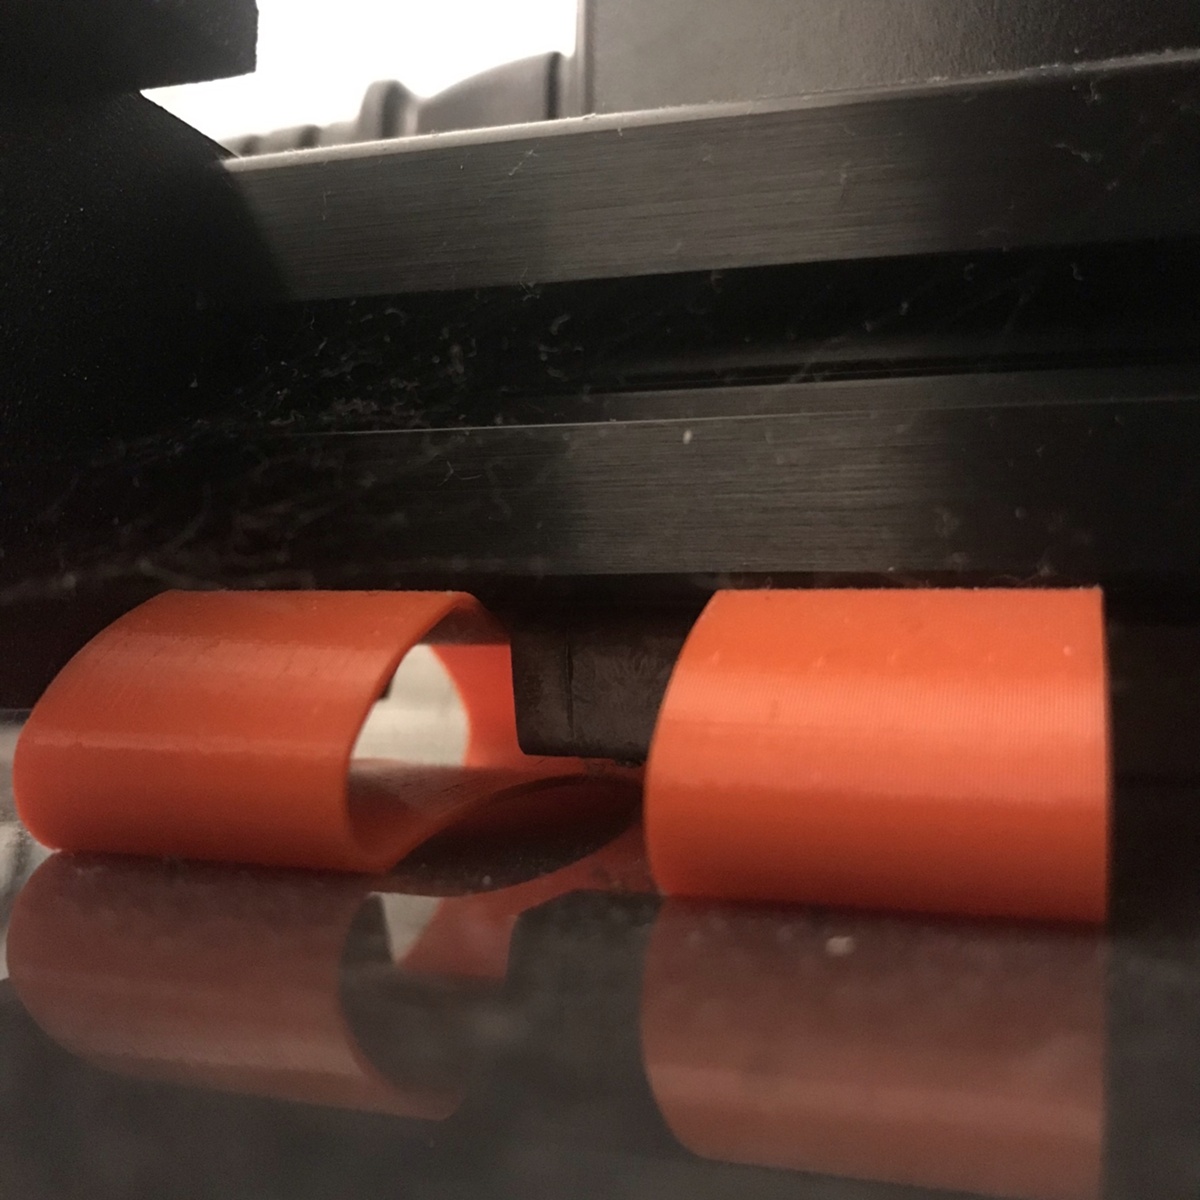
Z axis / first layer calibration
There is an official guide how to do first layer calibration. That's good for basic calibration. For better accuracy, the bottom surface of the printed models can tell. Here couple of examples:
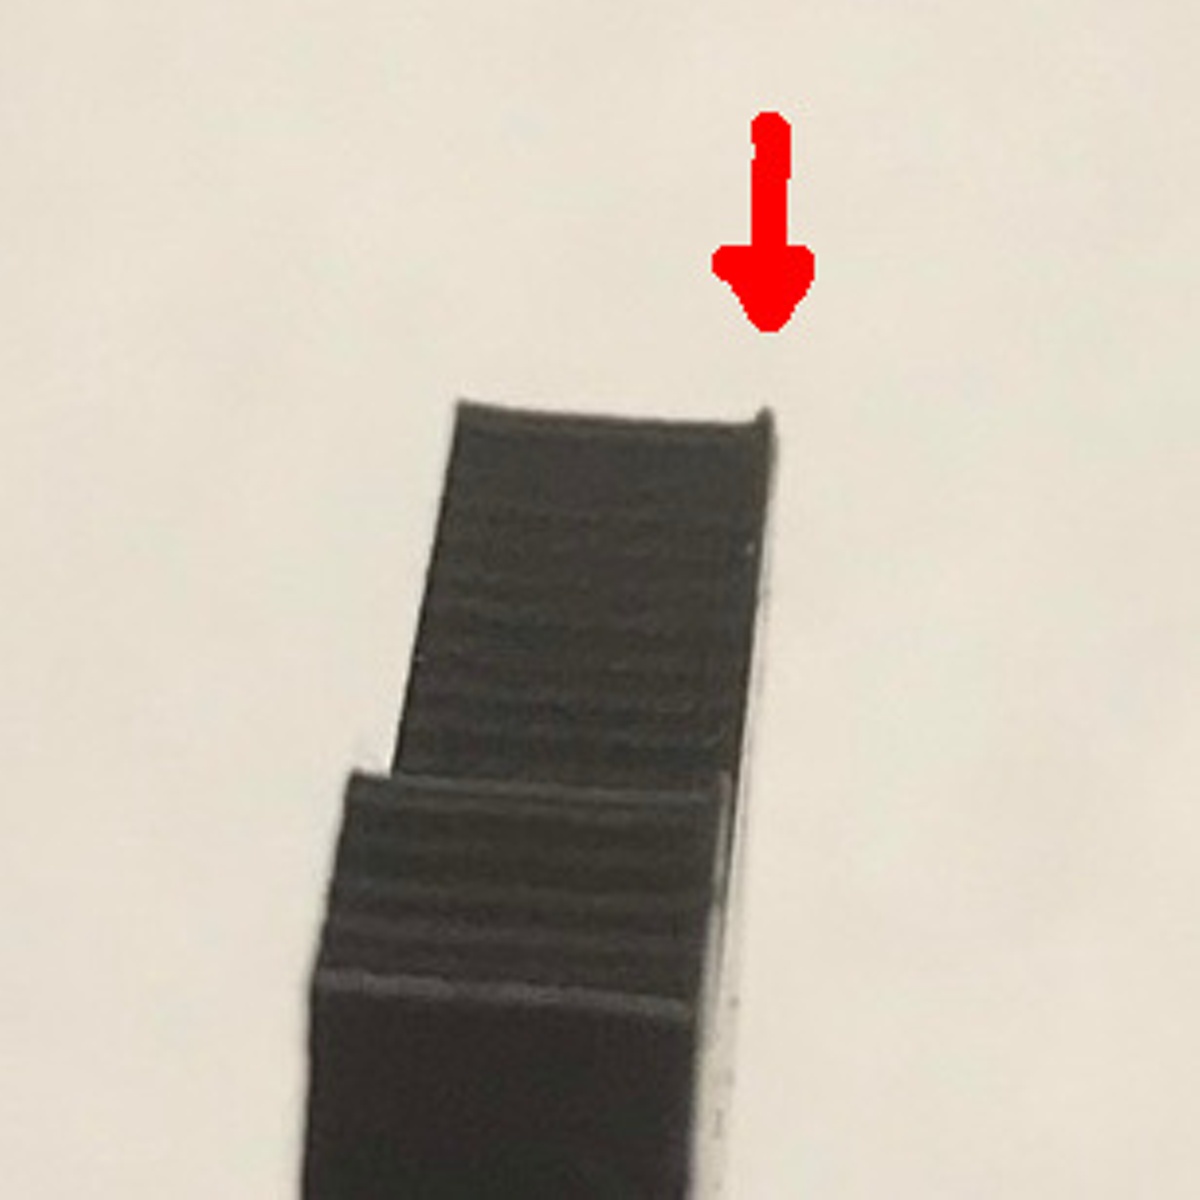
Z too high visible paths on bottom layer:
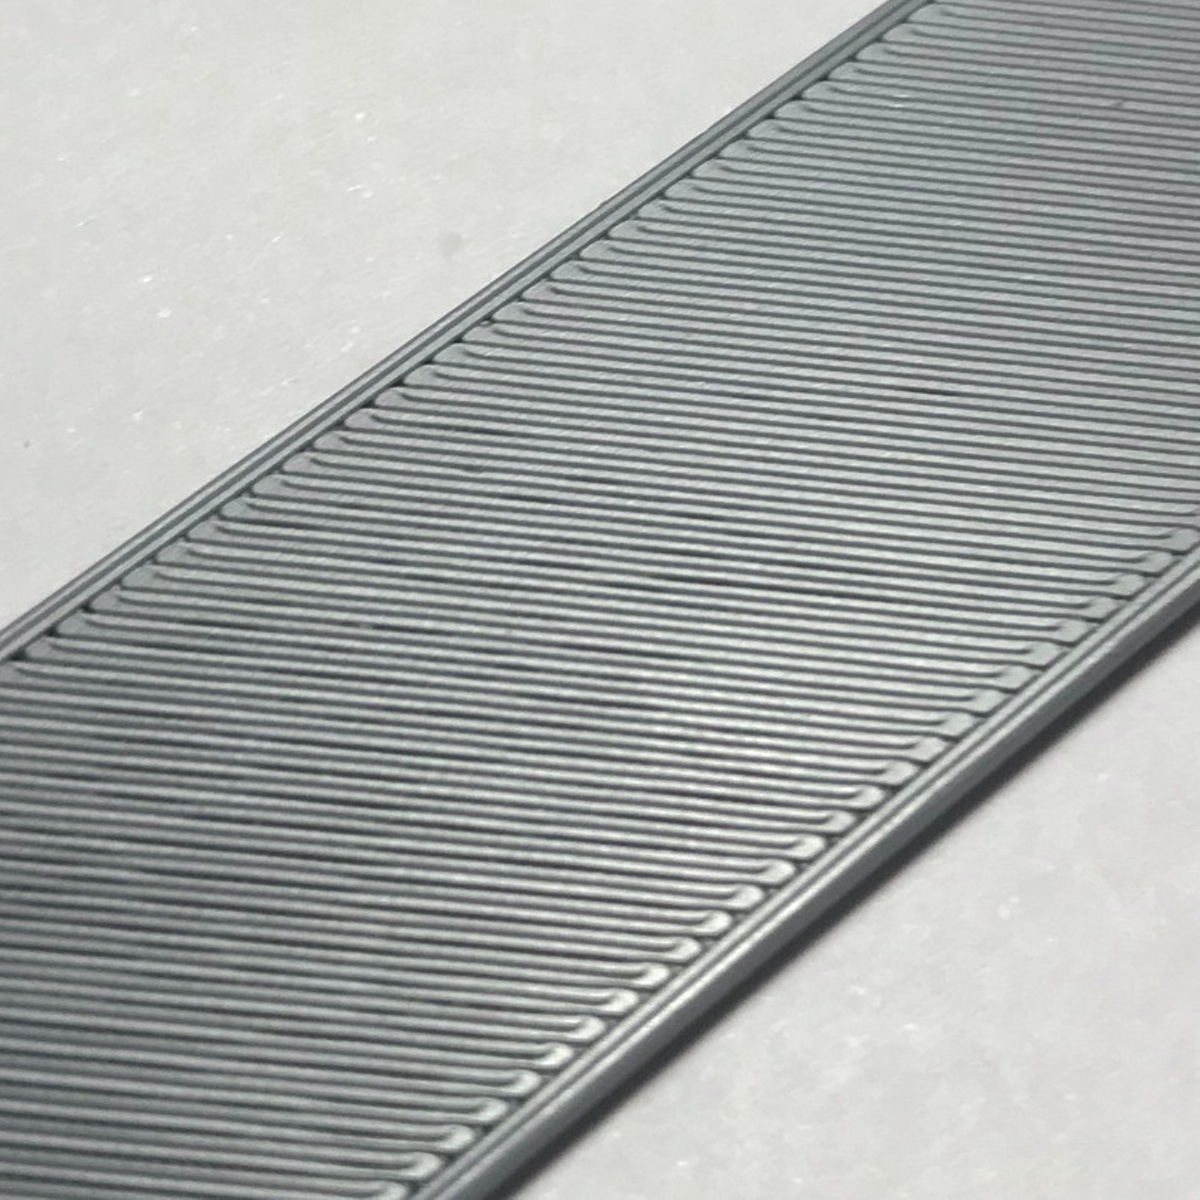

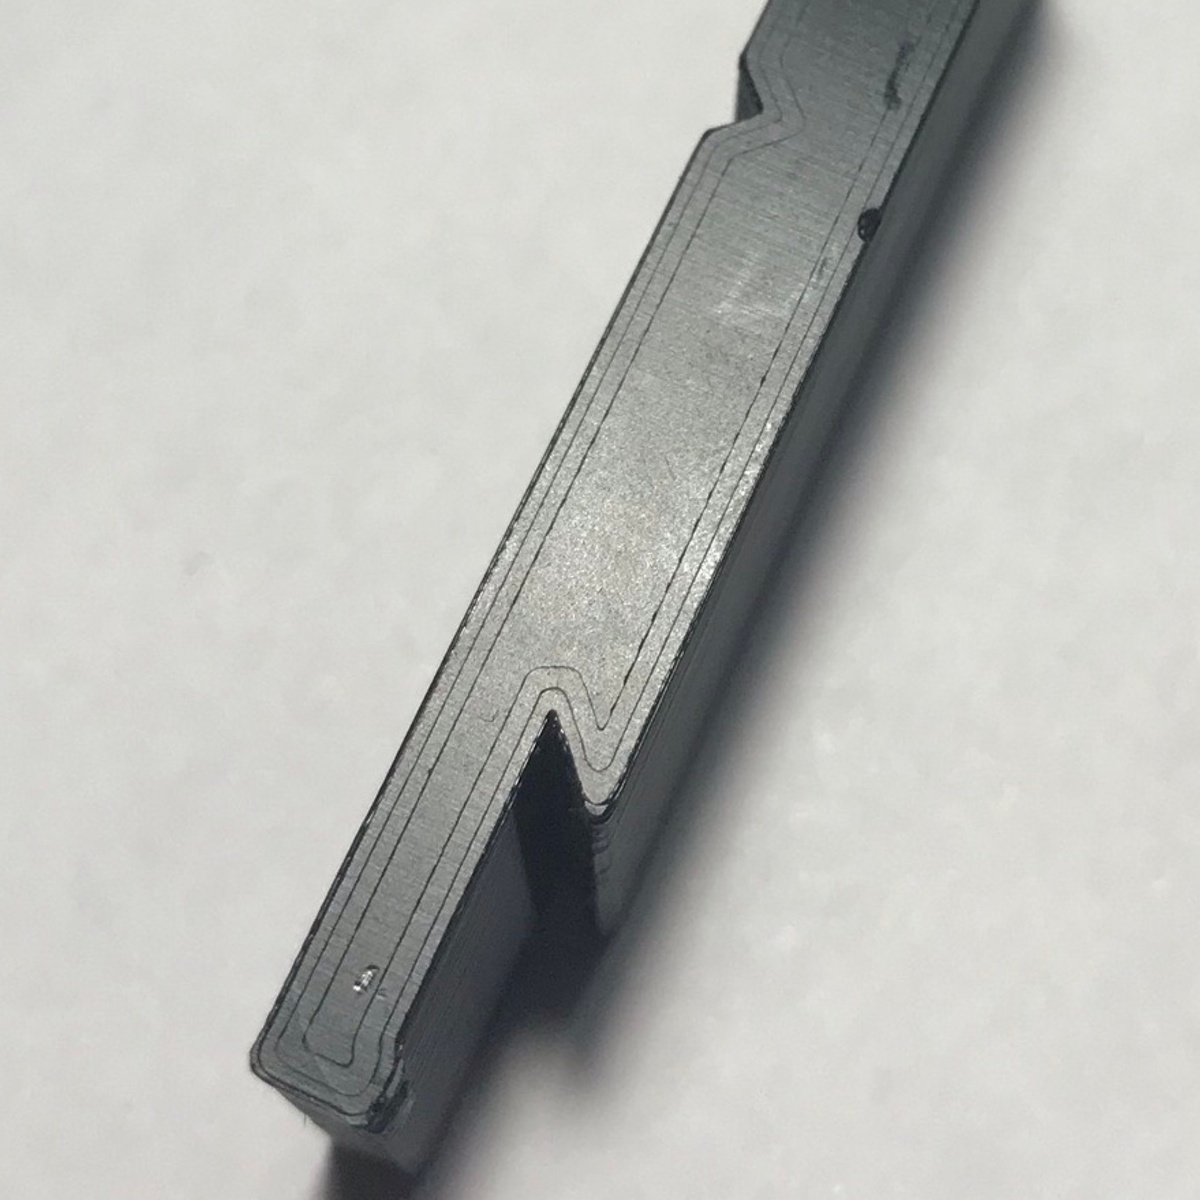
Z too low surface flat nearly all over the bottom layer, but there is visible bump-edge or brim that you can also feel with fingers:
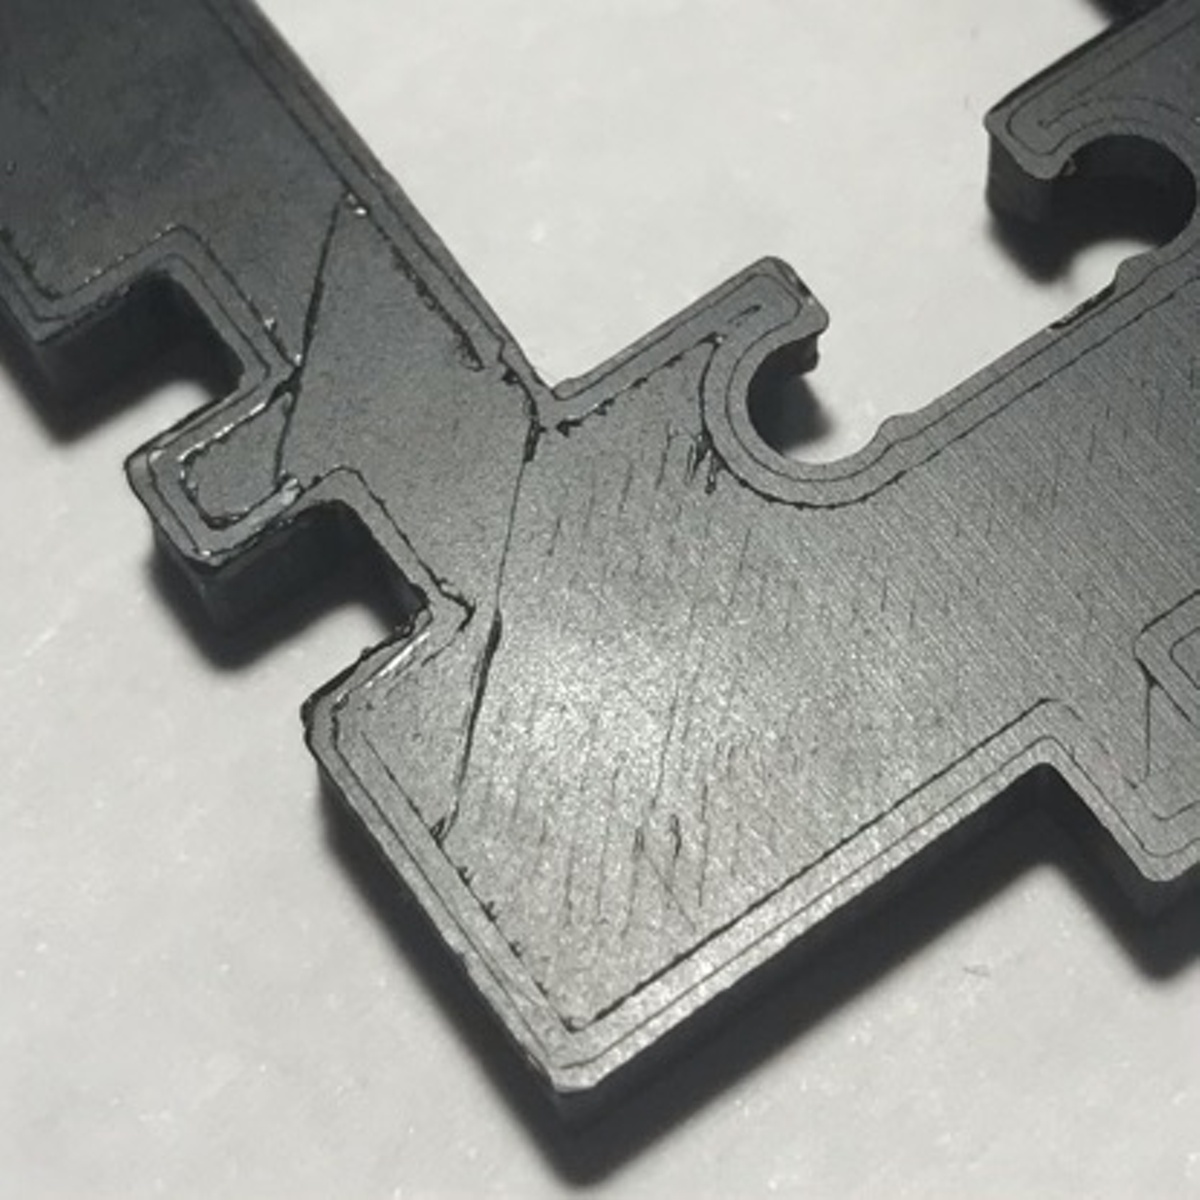
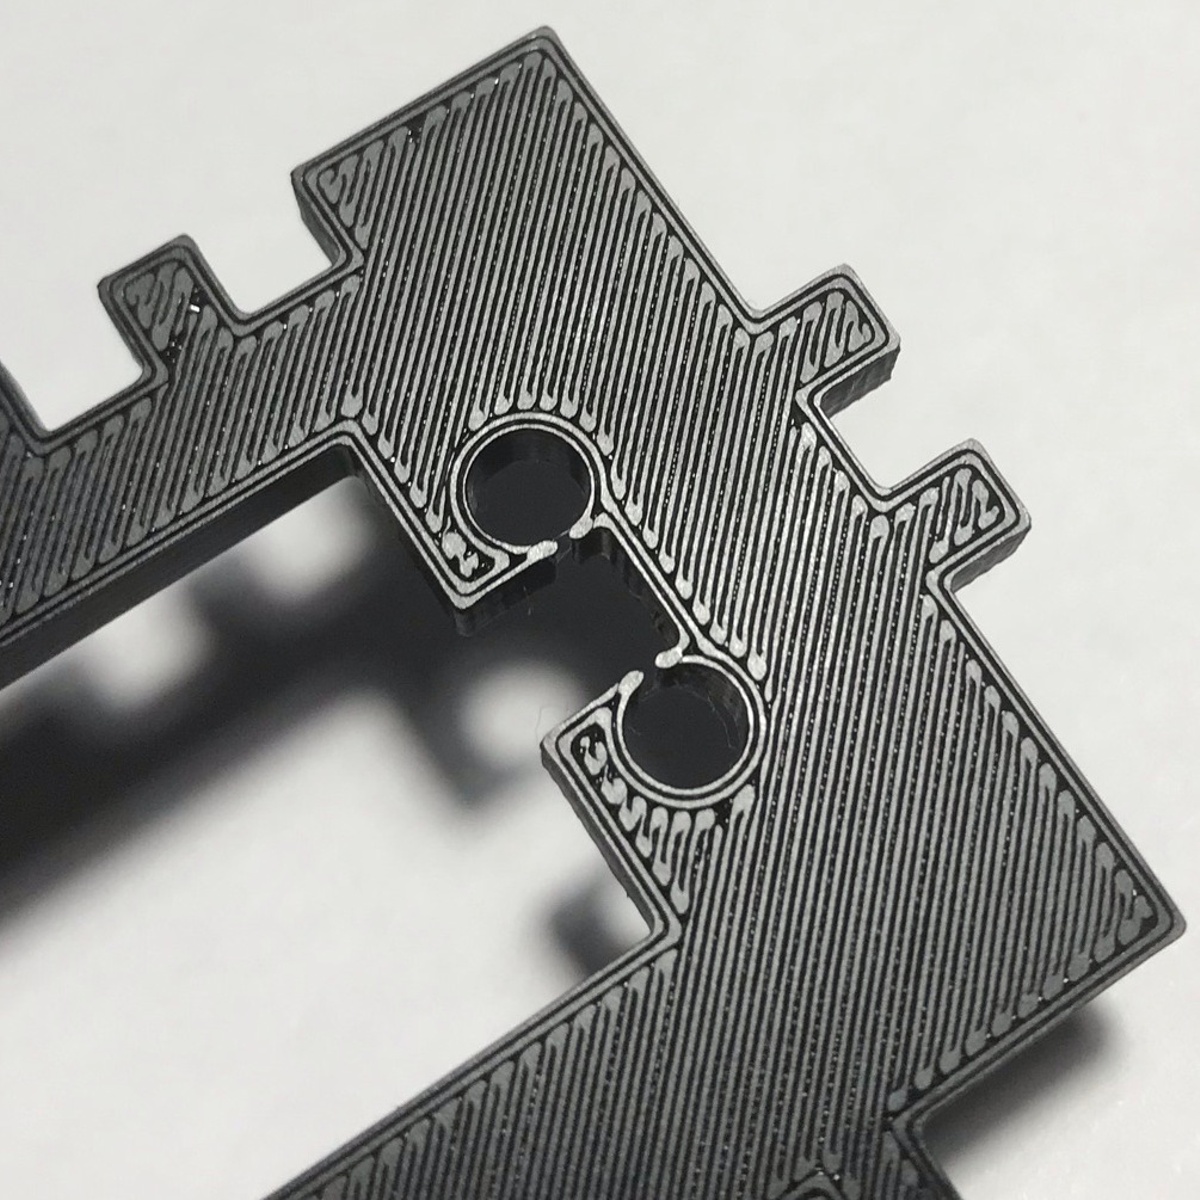
Z good flat surface nearly all over the bottom layer, edges according to 3D design:


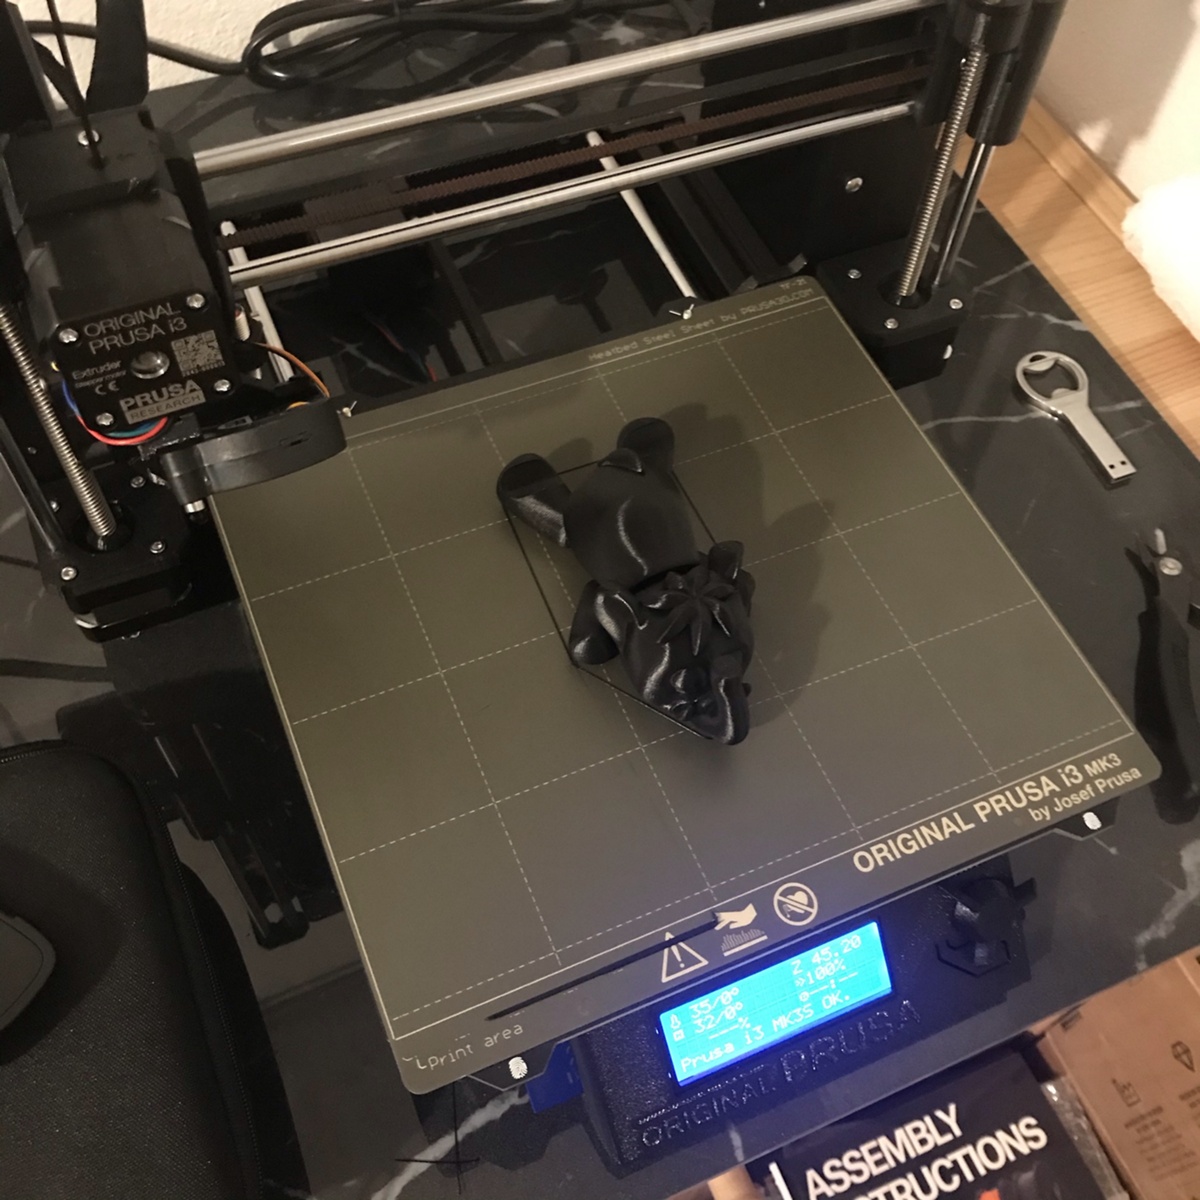
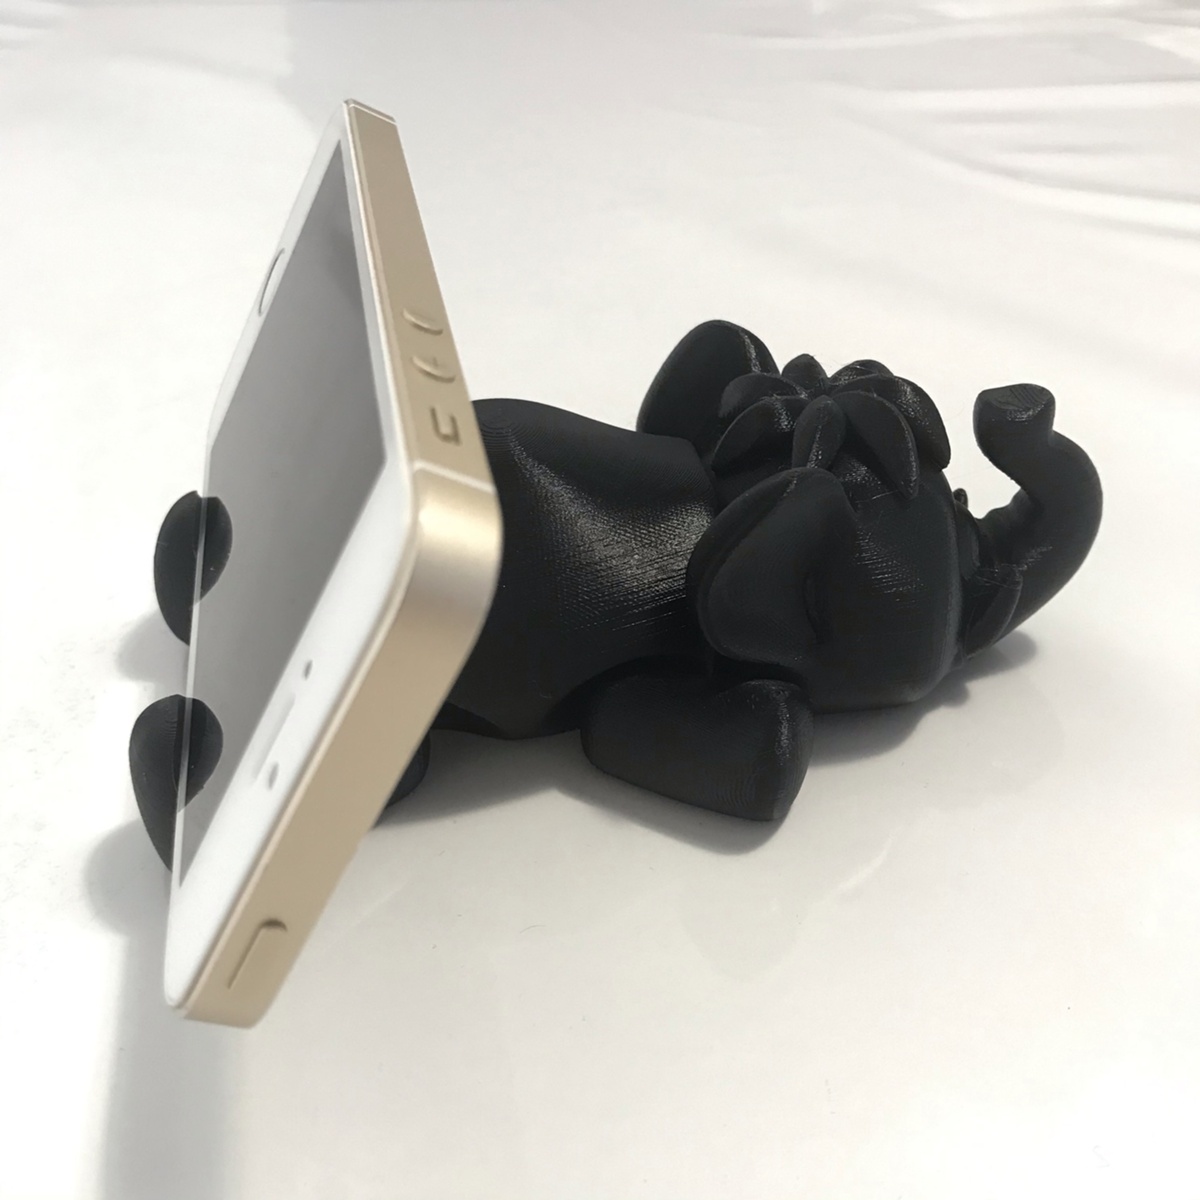
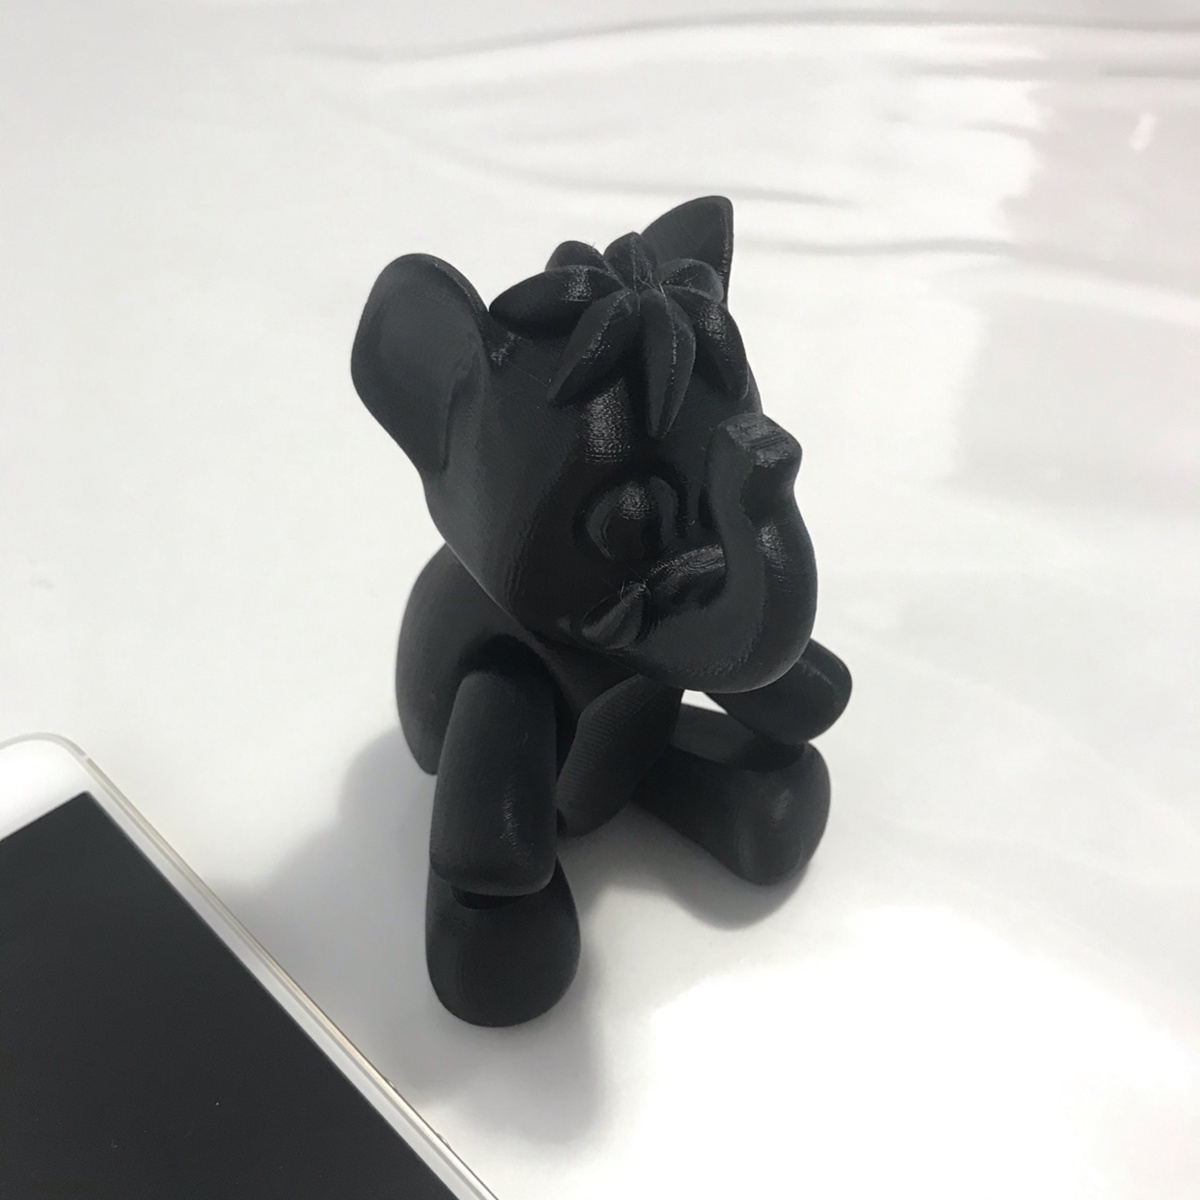
and printing!
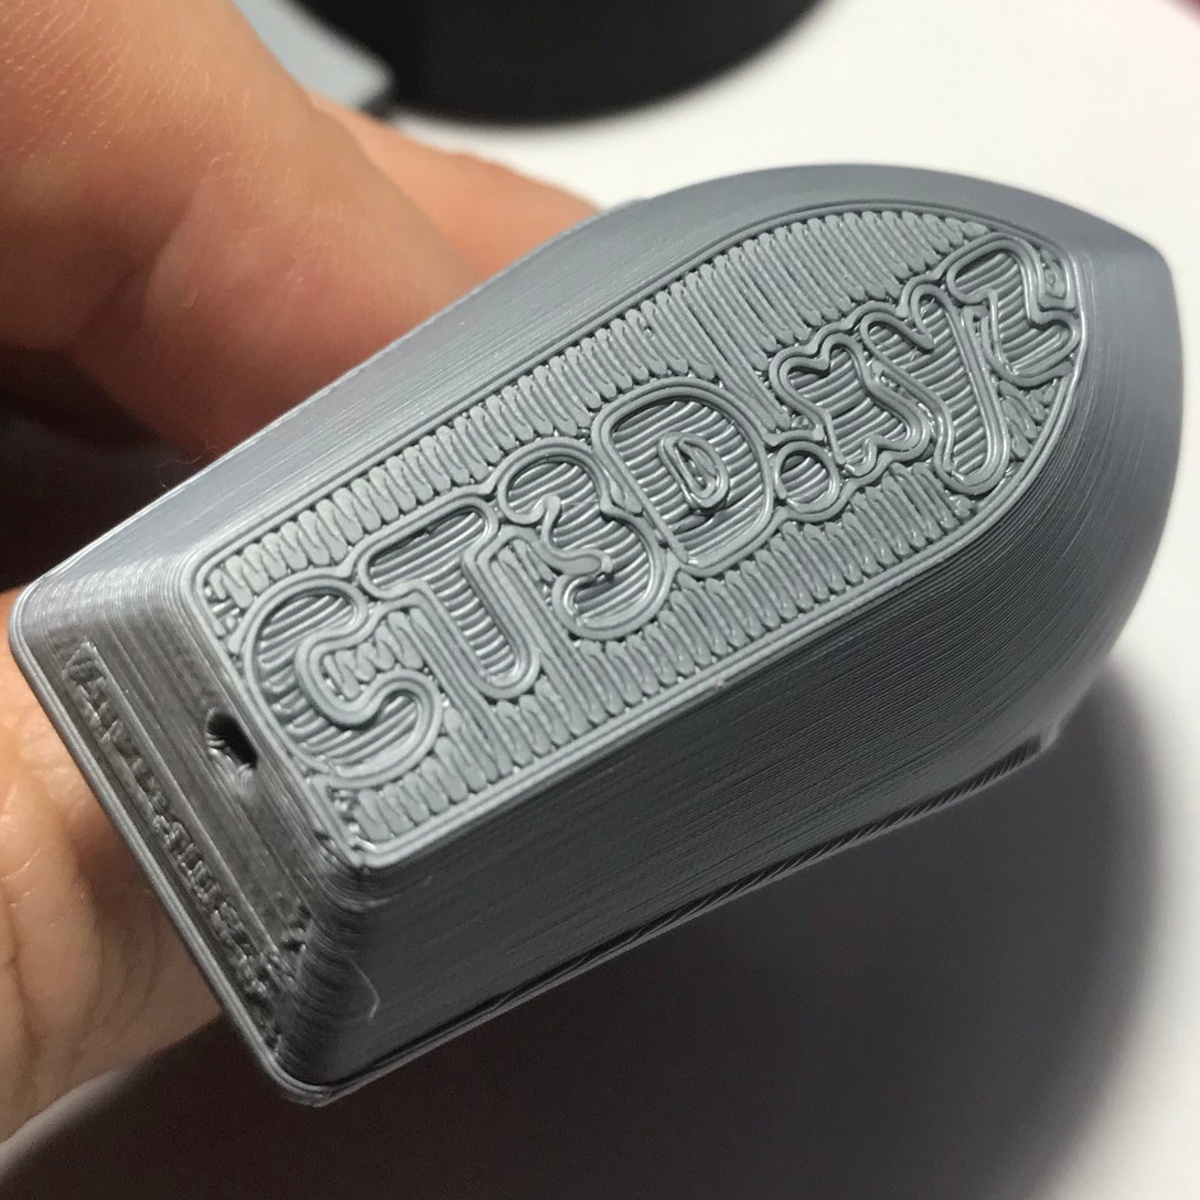
models from all over the web, to figure out slicing and the possibilities of PLA


reached the limits (was due to bad slicing configuration)
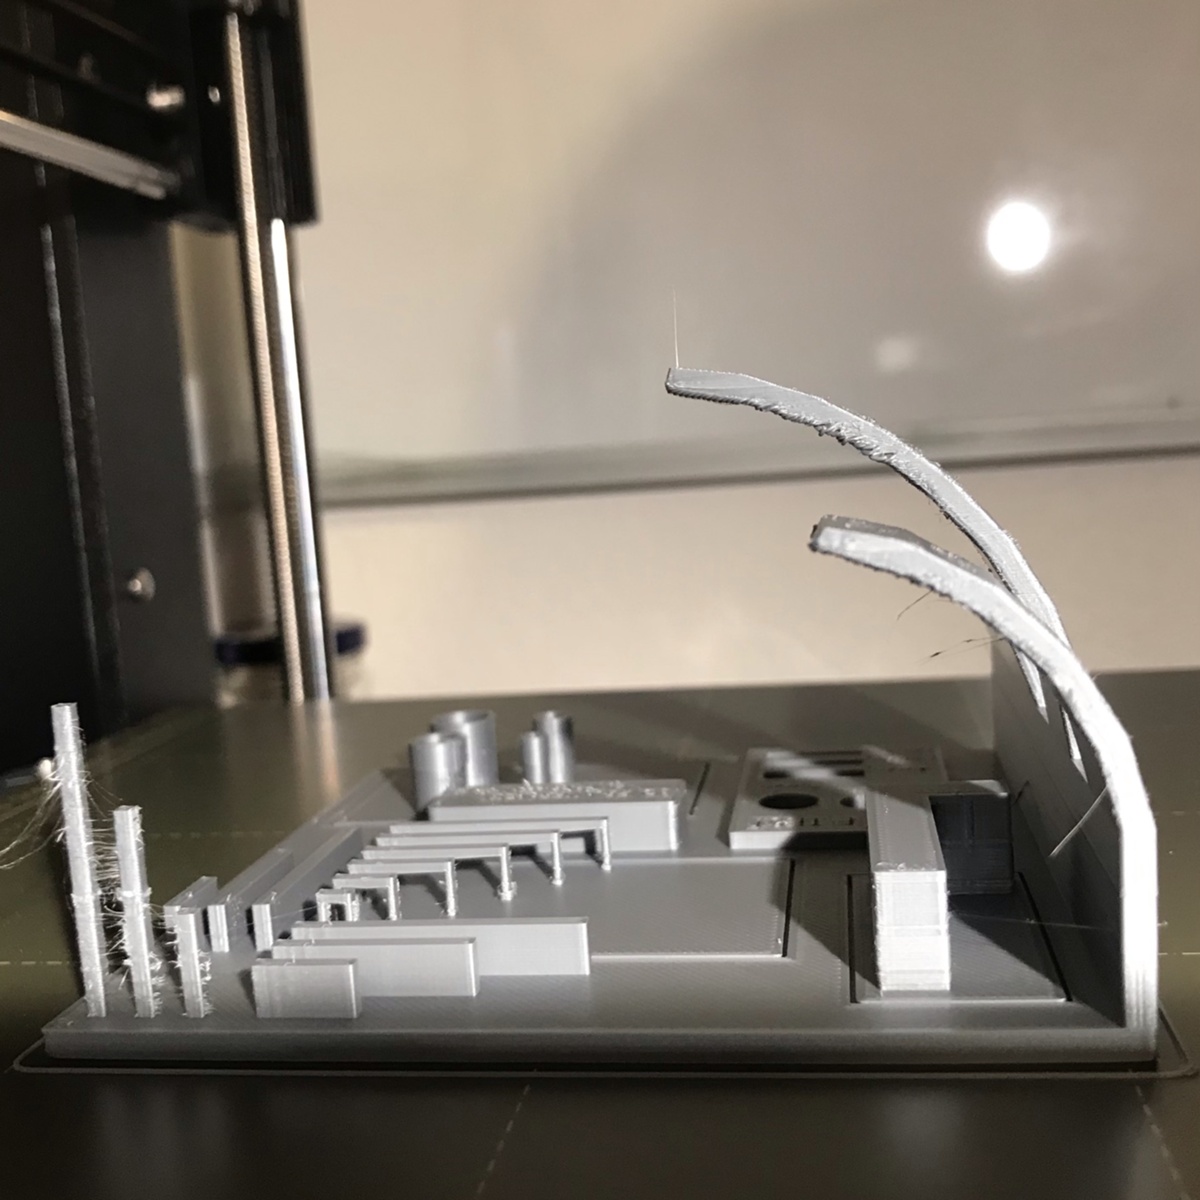
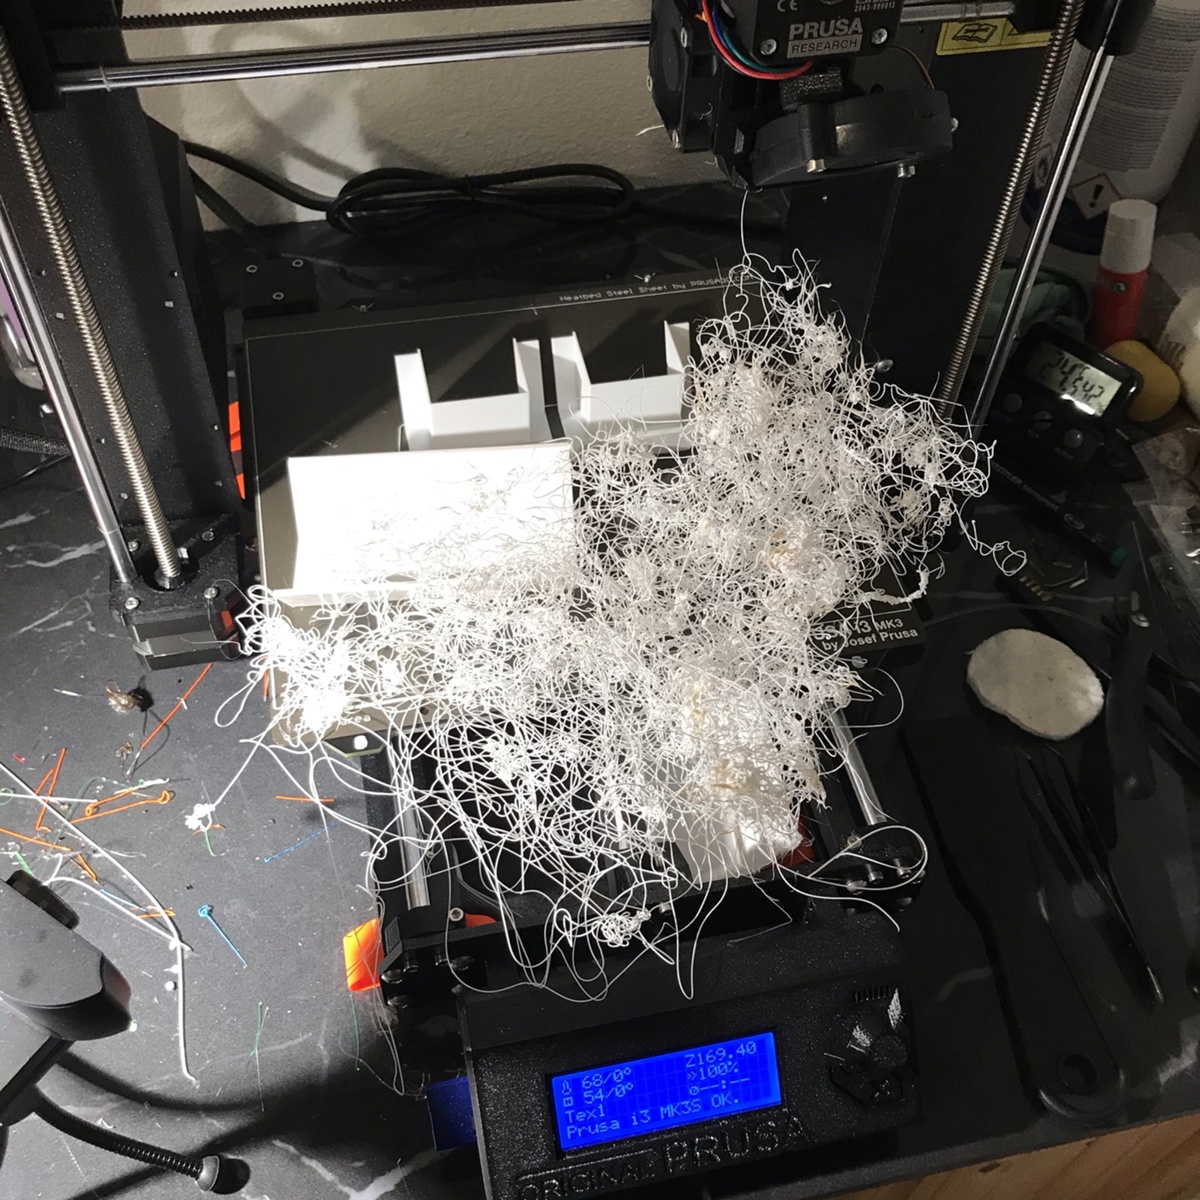
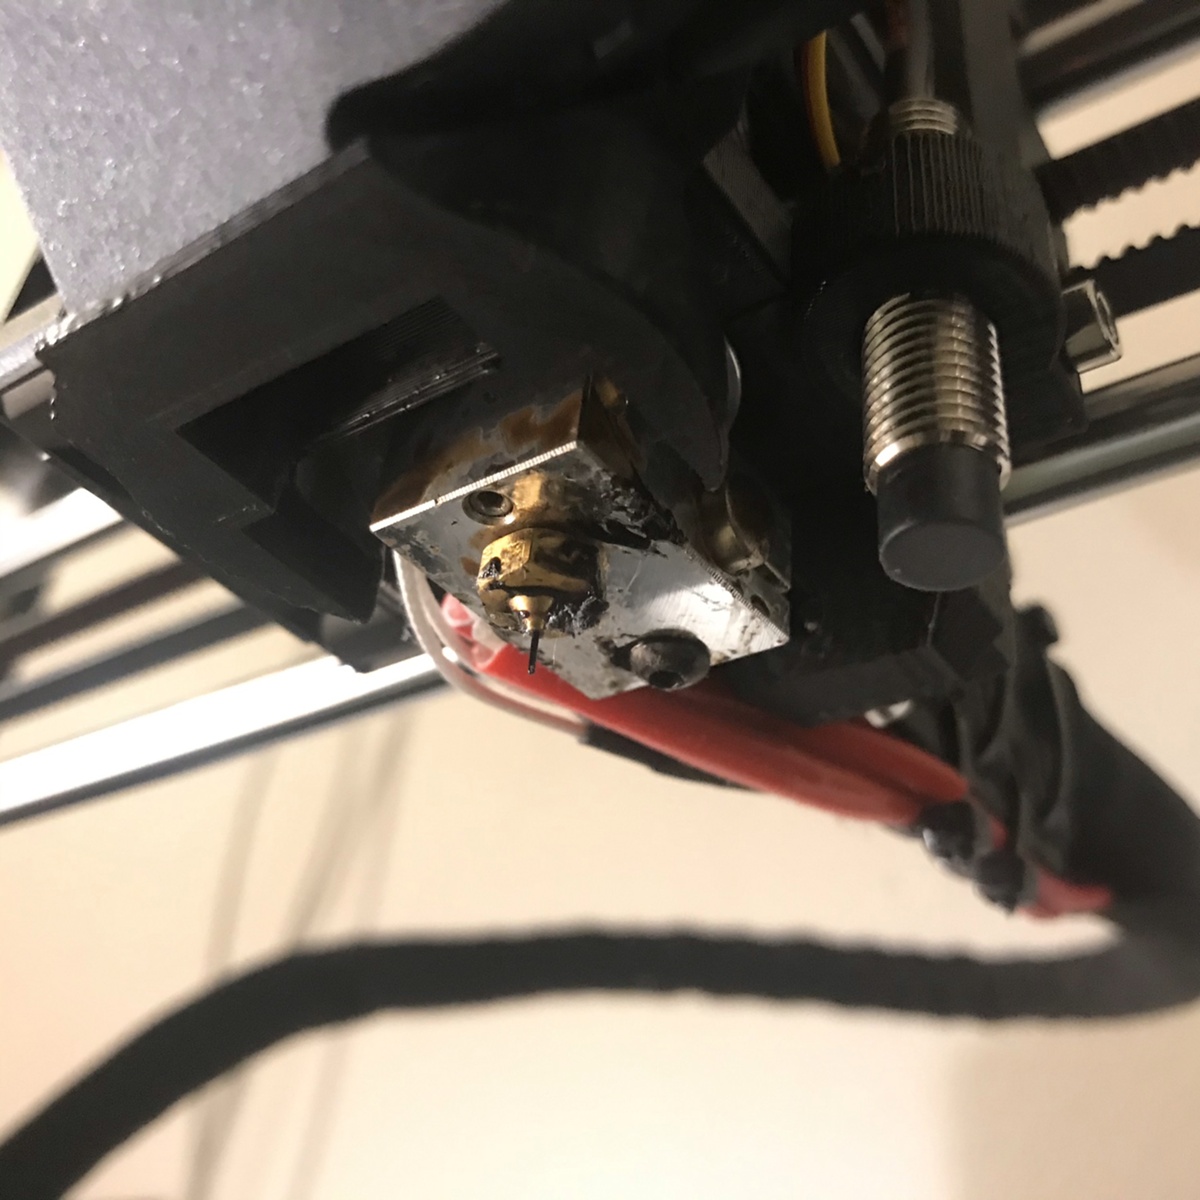
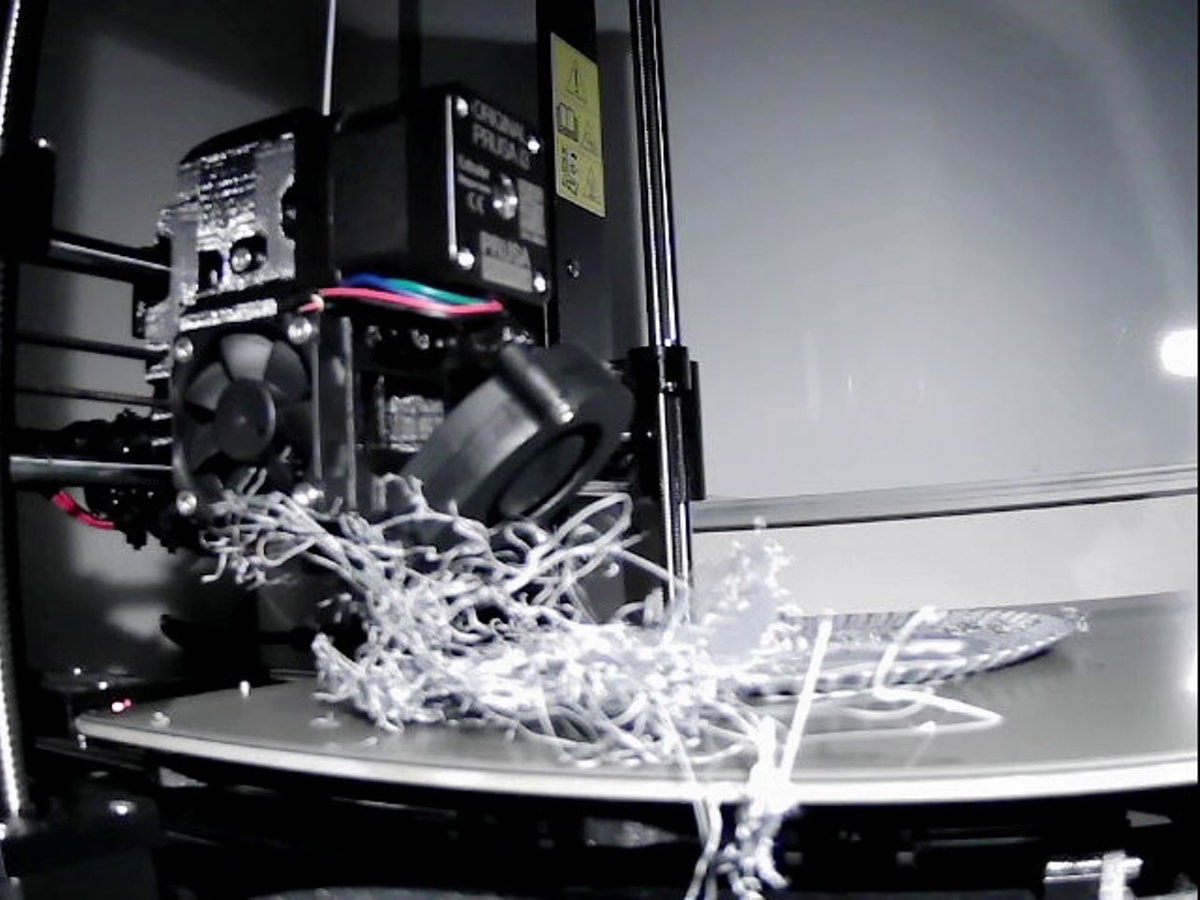
experienced one fail-print - I've did not enable supports and the print turned into filament "spaghetti", jamming heat-block fan and filament stuck on to the hotend extruder. Raising up the Z axis, letting the hotend heat up to max PLA temperature made the plastics nicely drop down. Then after cool down it was possible to clean the rest with Acetone.


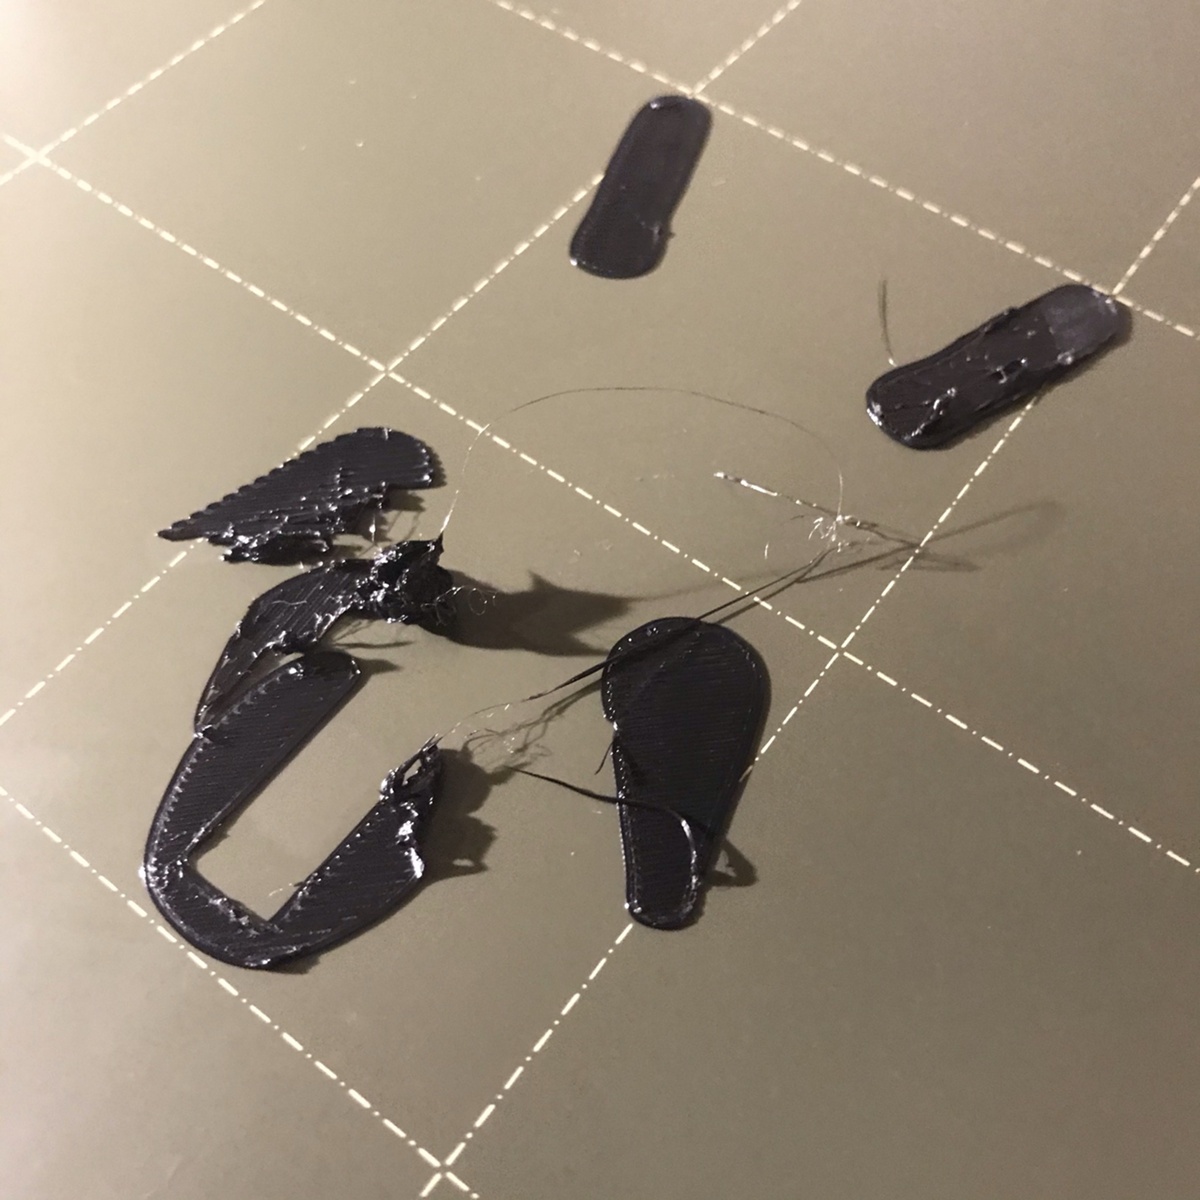
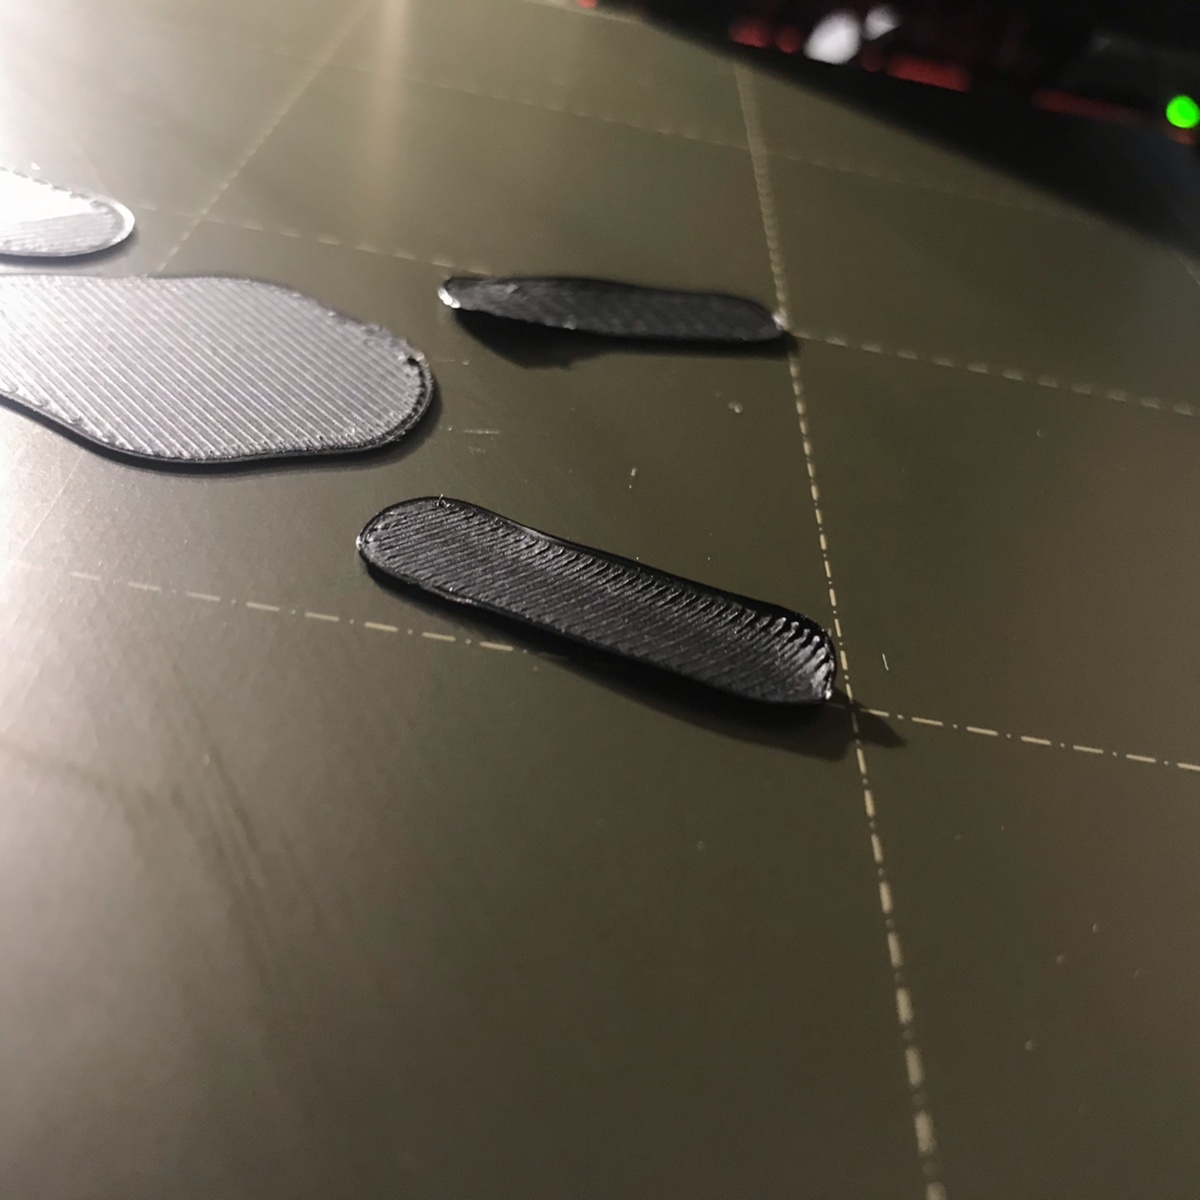
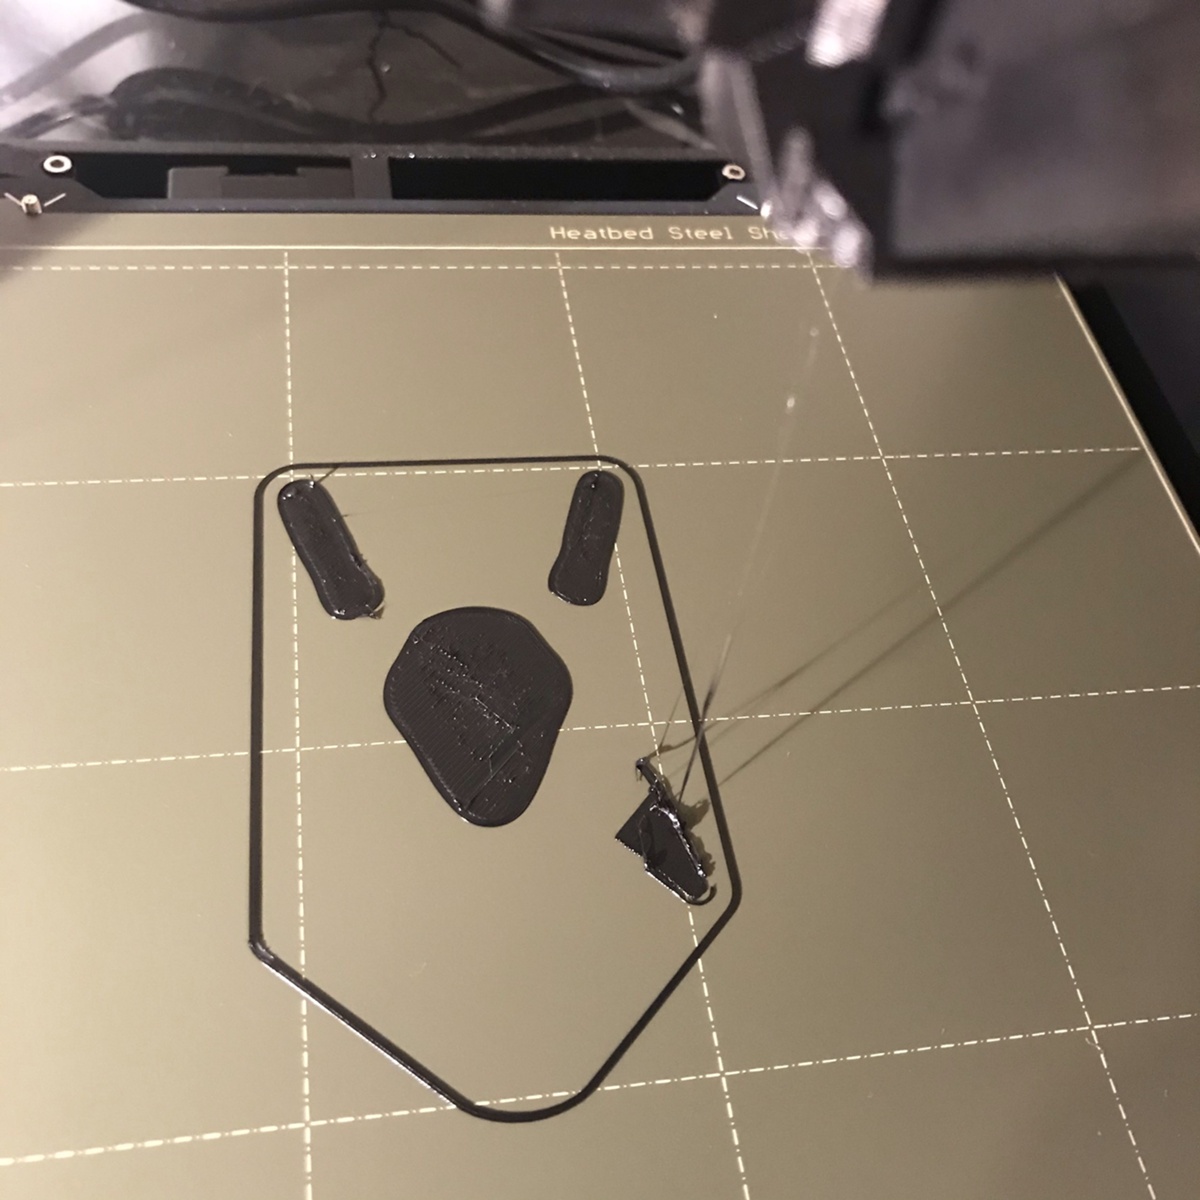
the print bed stopped sticking
Even I was cleaning the bed with isopropanol after each print, at the end of two weeks suddenly the first layer started to peel off on a model that I printed without problem before. The non-sticked filament came onto the extruder and I had to clean it three times, cleaned the bed with 99% isopropanol, then also acetone, window cleaner and with hot water and soap. I could still see some foggy something on the surface. Then I turned the steel sheet around, used the other side and it worked without a problem. For now marked the sides and will keep one side always facing the heater and print only on the other side. I'll also never ever touch the sheet with my bare hands. Time will tell!
TotallyClevrUsername@reddit suggested to use "e3d v6 heat block silicone sock" which sounds like a really good thing. Will take a while for it to arrive though. He also suggested to use makeup pads for steel sheet cleaning, which sounds like the right tool for the job.
Worked for a while and then again stopped sticking. The paper glue did a wonder, just a little bit of it and suddently it was holding too much - had to increase the Z axis adjustment so that I can get the modes confortably off the bed after print.
Read somewhere that one should not print PLA and PETG on the same print bed as the left-overs from the other material is causing non-sticking.


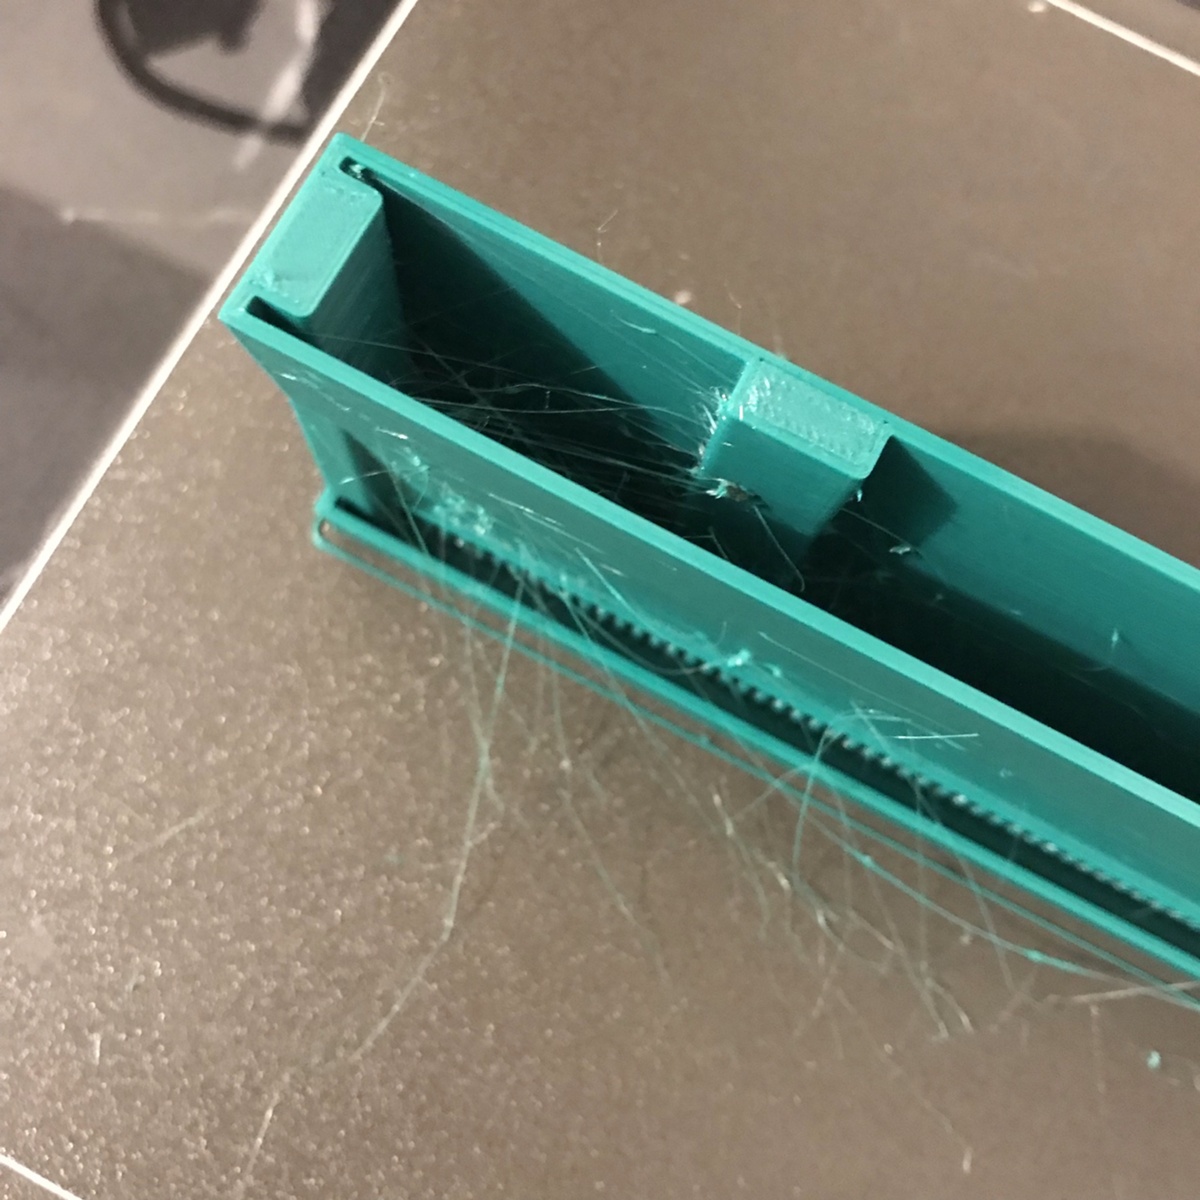
stringing/oozing and/or partially blocked filament feed
Dry filament and smooth filament feed makes a difference. But what caused this stringing an oozing in my case was having filament idler screw too tight.

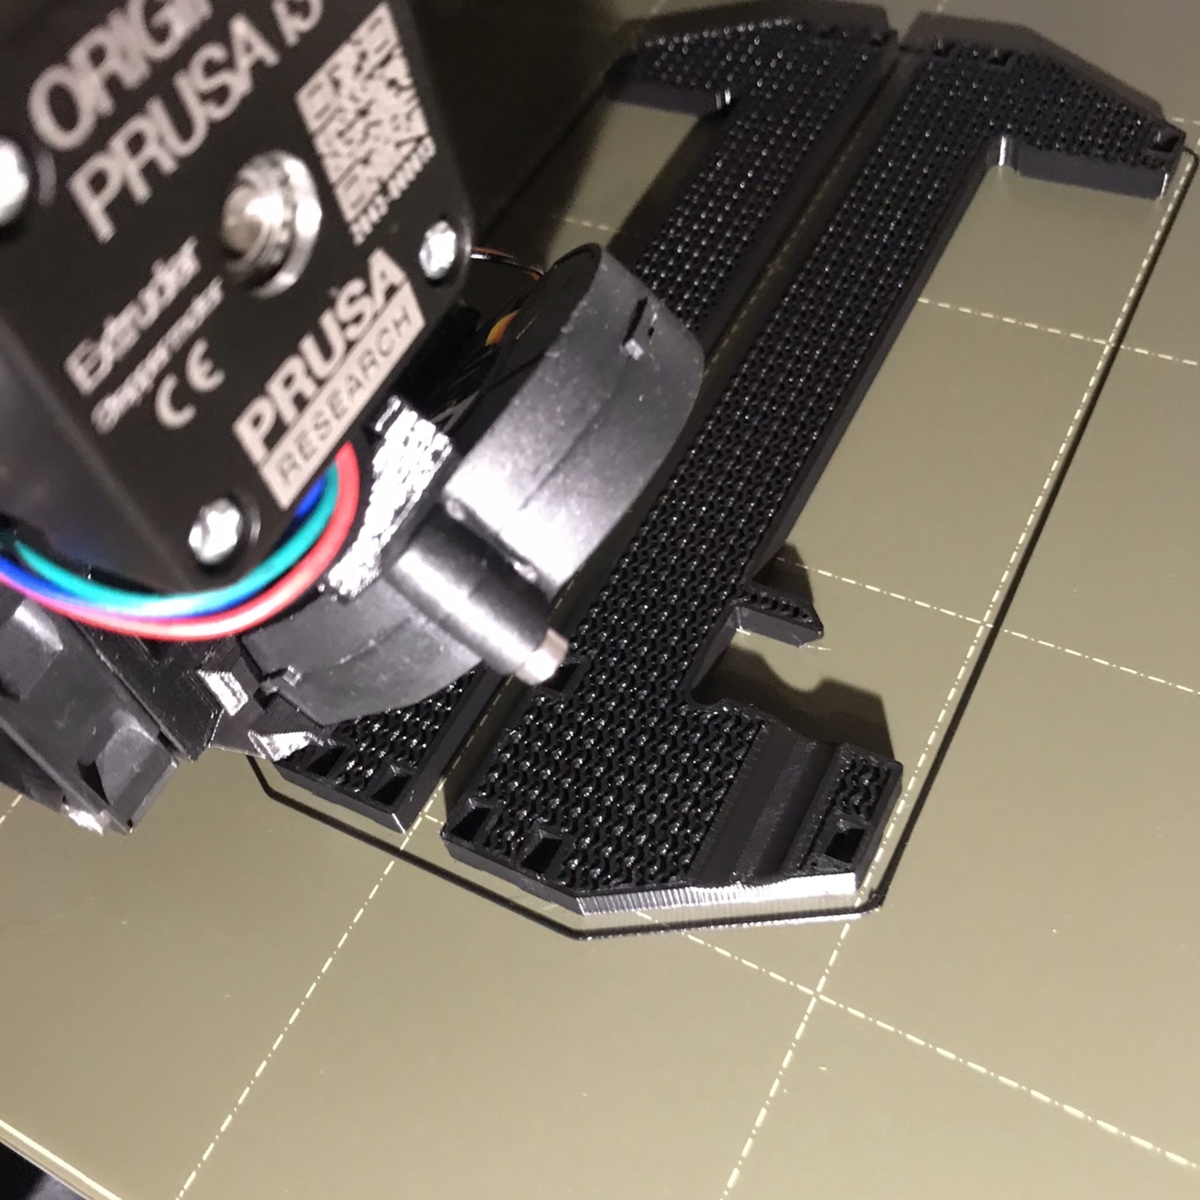
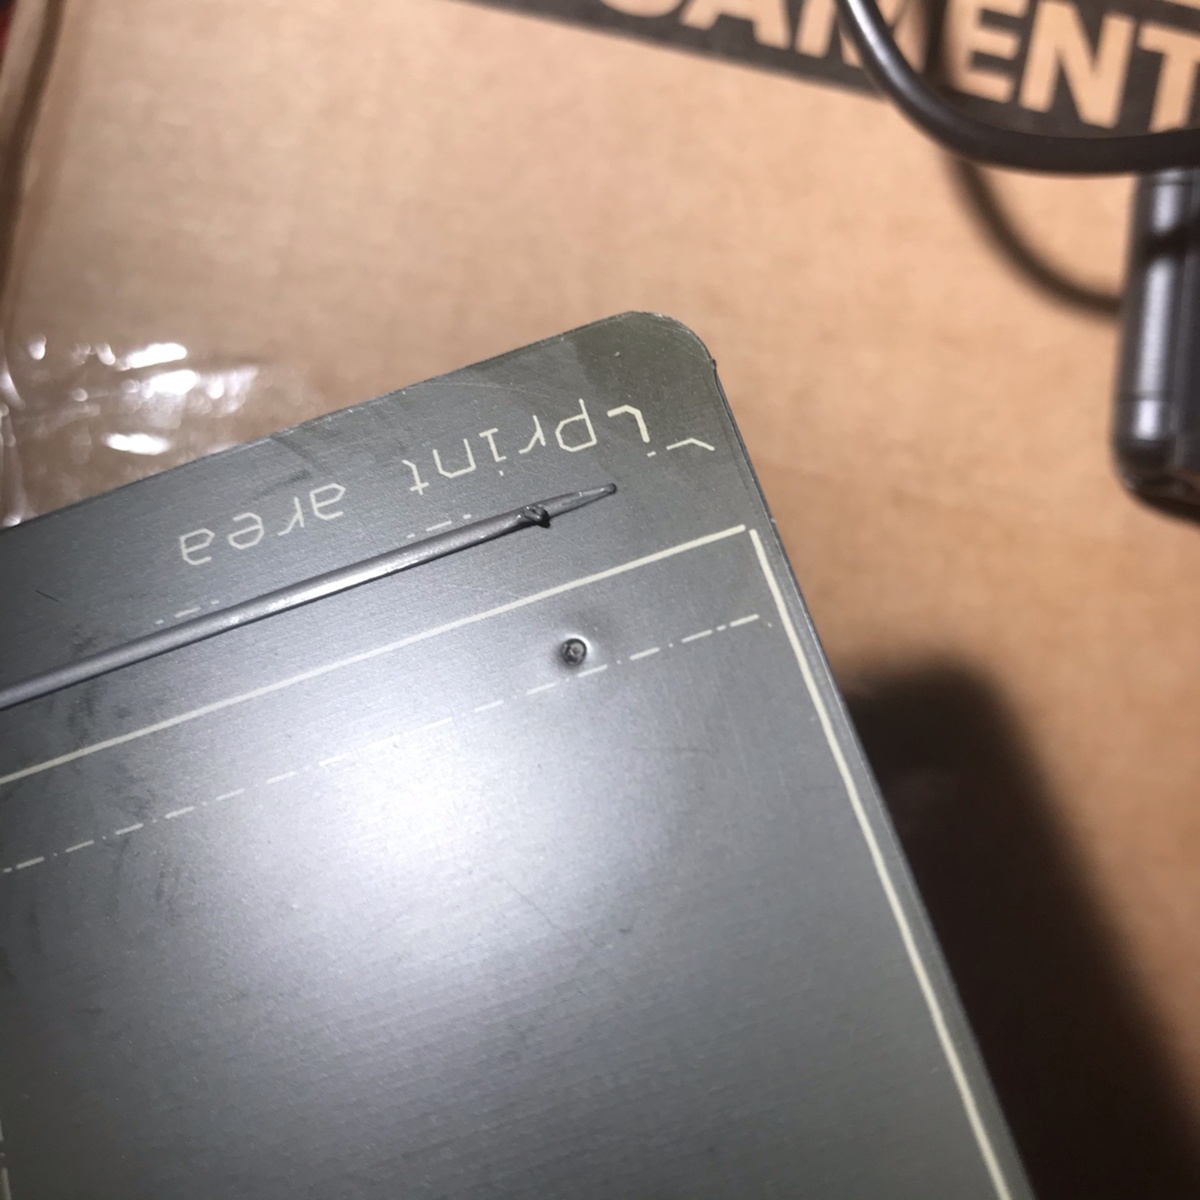
bed crash
And also managed to crash into the print bed with extruder. Was most likely due to too hard pulling or pushing of the filament while changing colors. After Z-axis calibration everything was fine again.
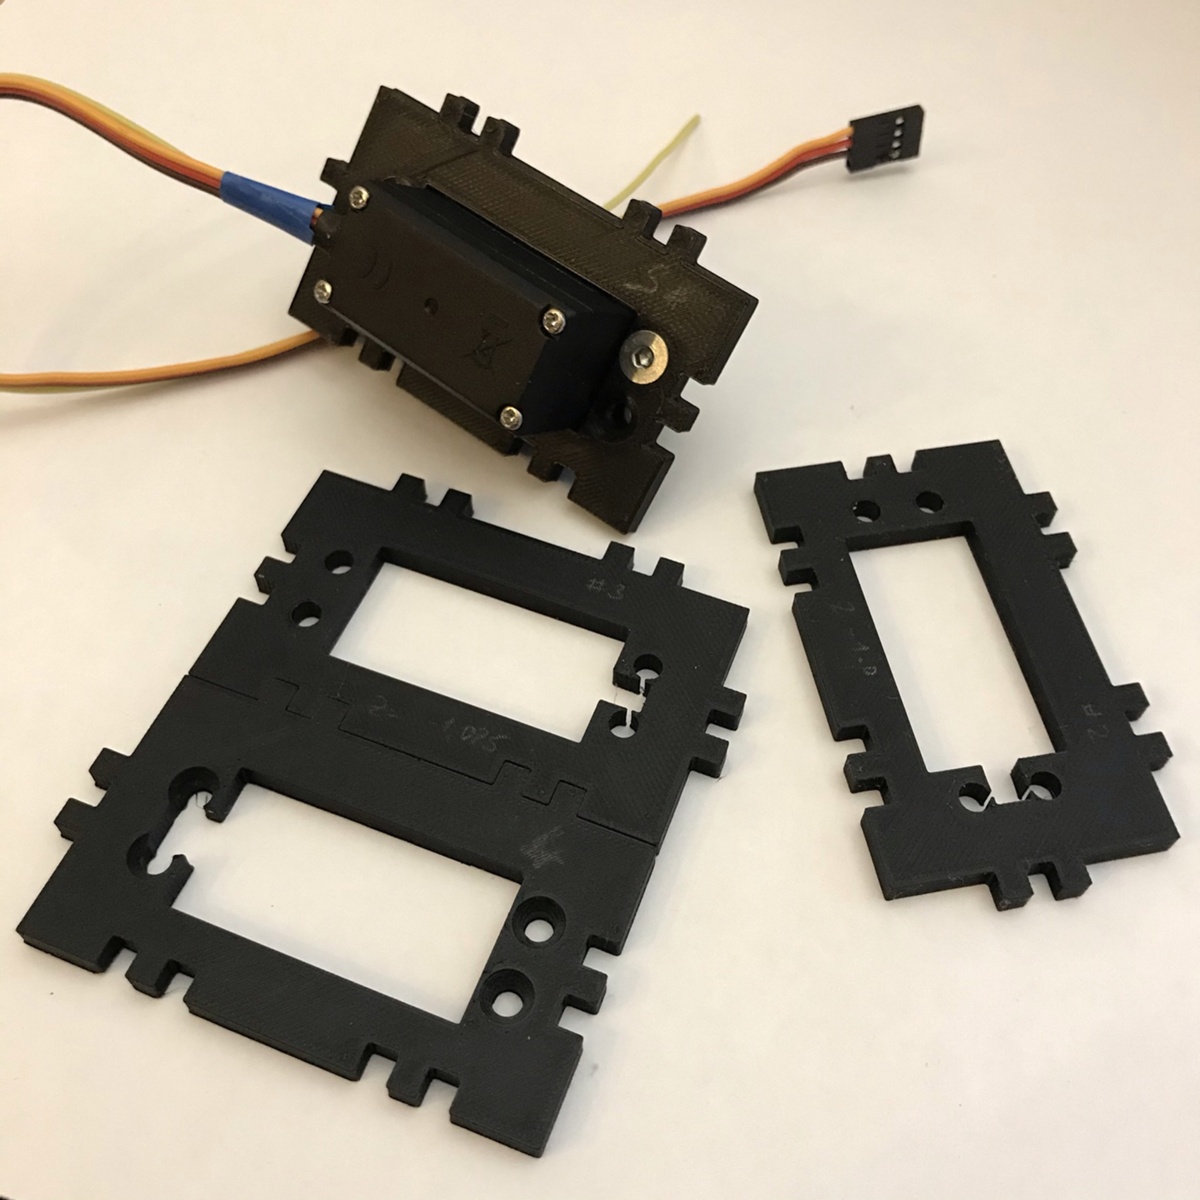
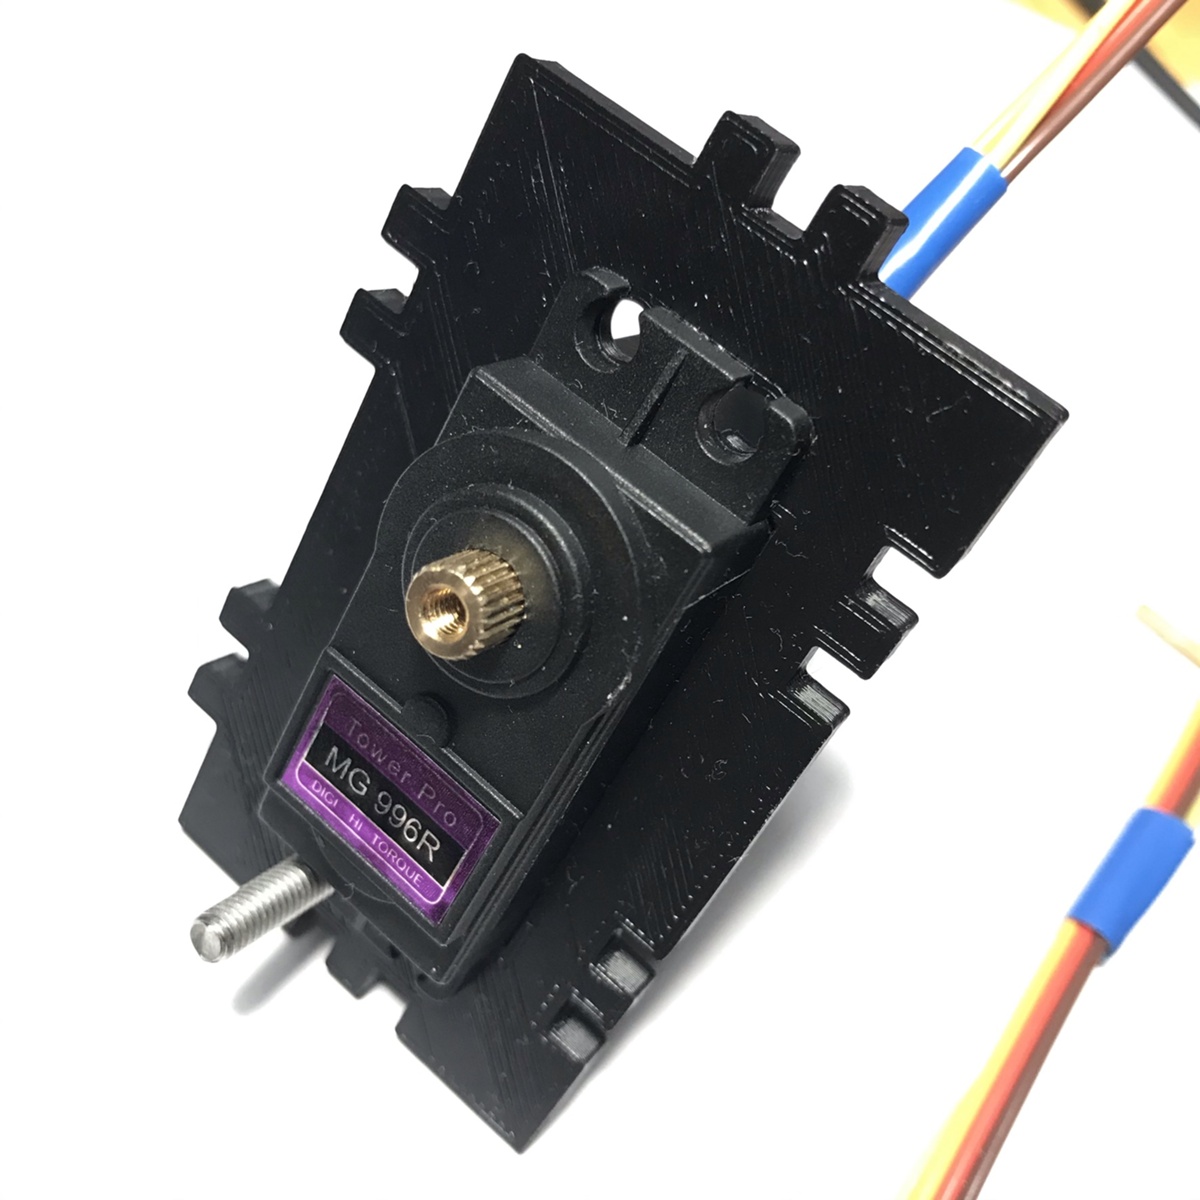
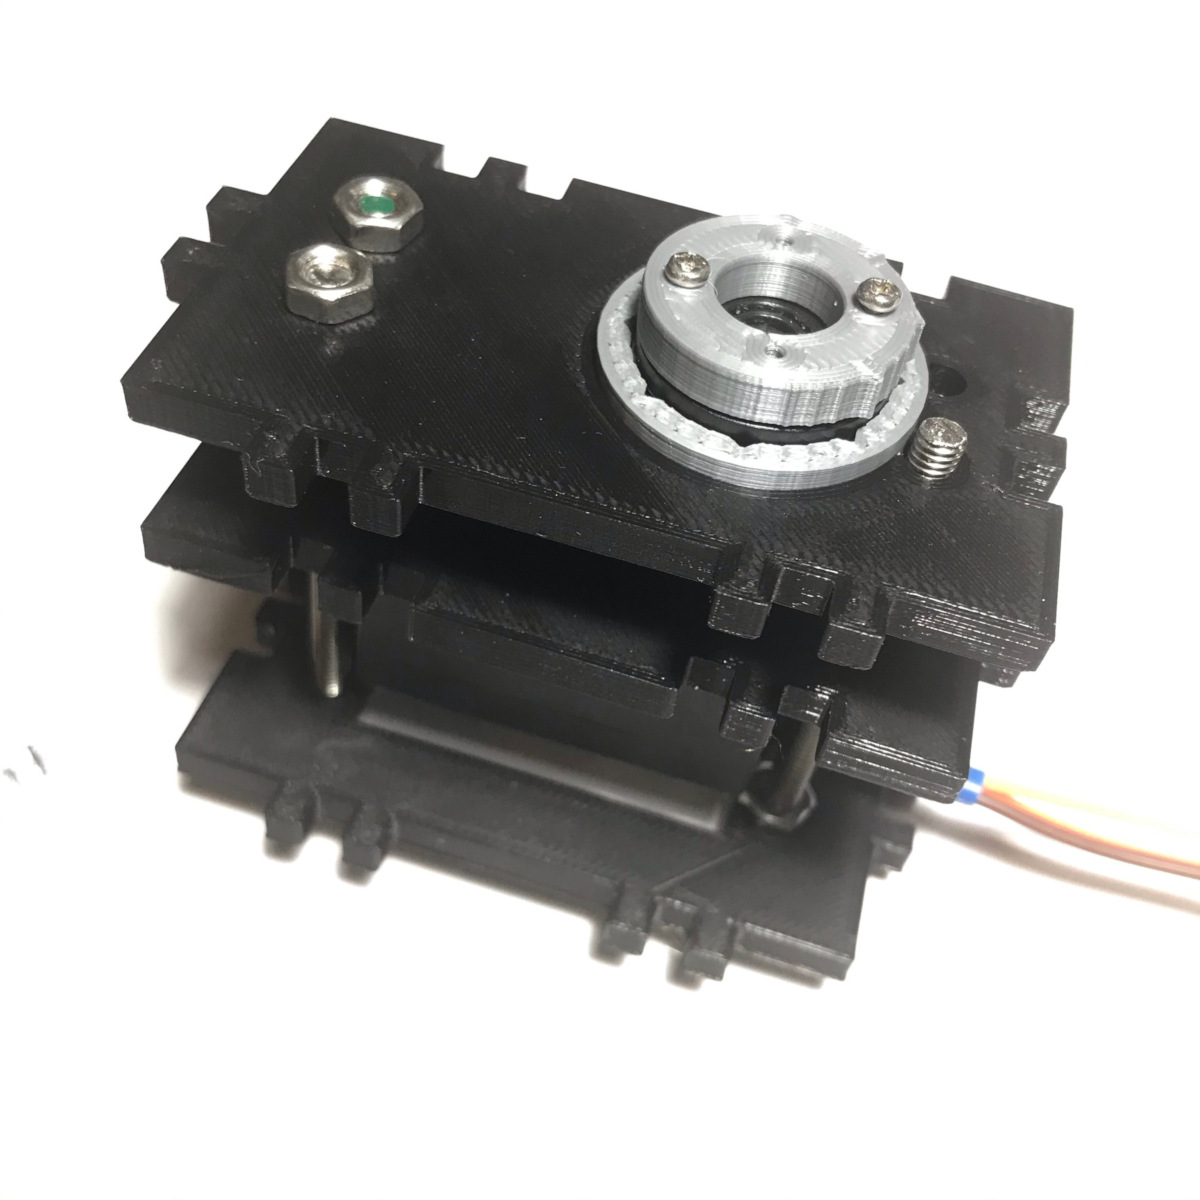
own designed object
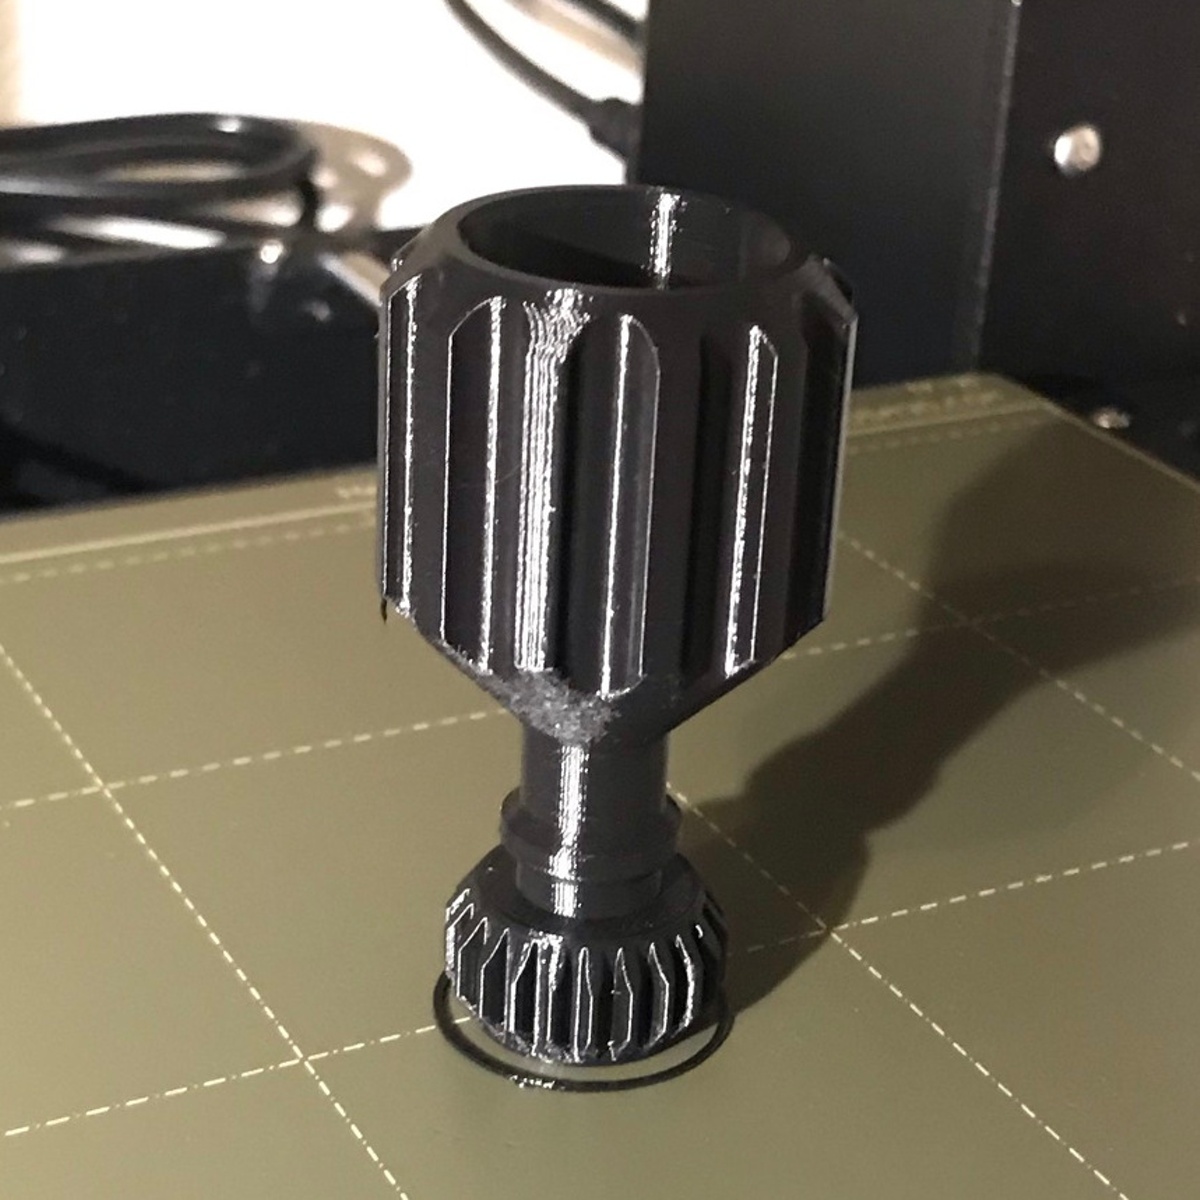
Tried to 3D print the servo motor holder, that I've designed for laser cutting. The outcome was surprisingly good and accurate. Will continue working on it to have my servo test bench for the sixservo project ~soon.

later notes
- Anti-vibration feet do make a big difference.
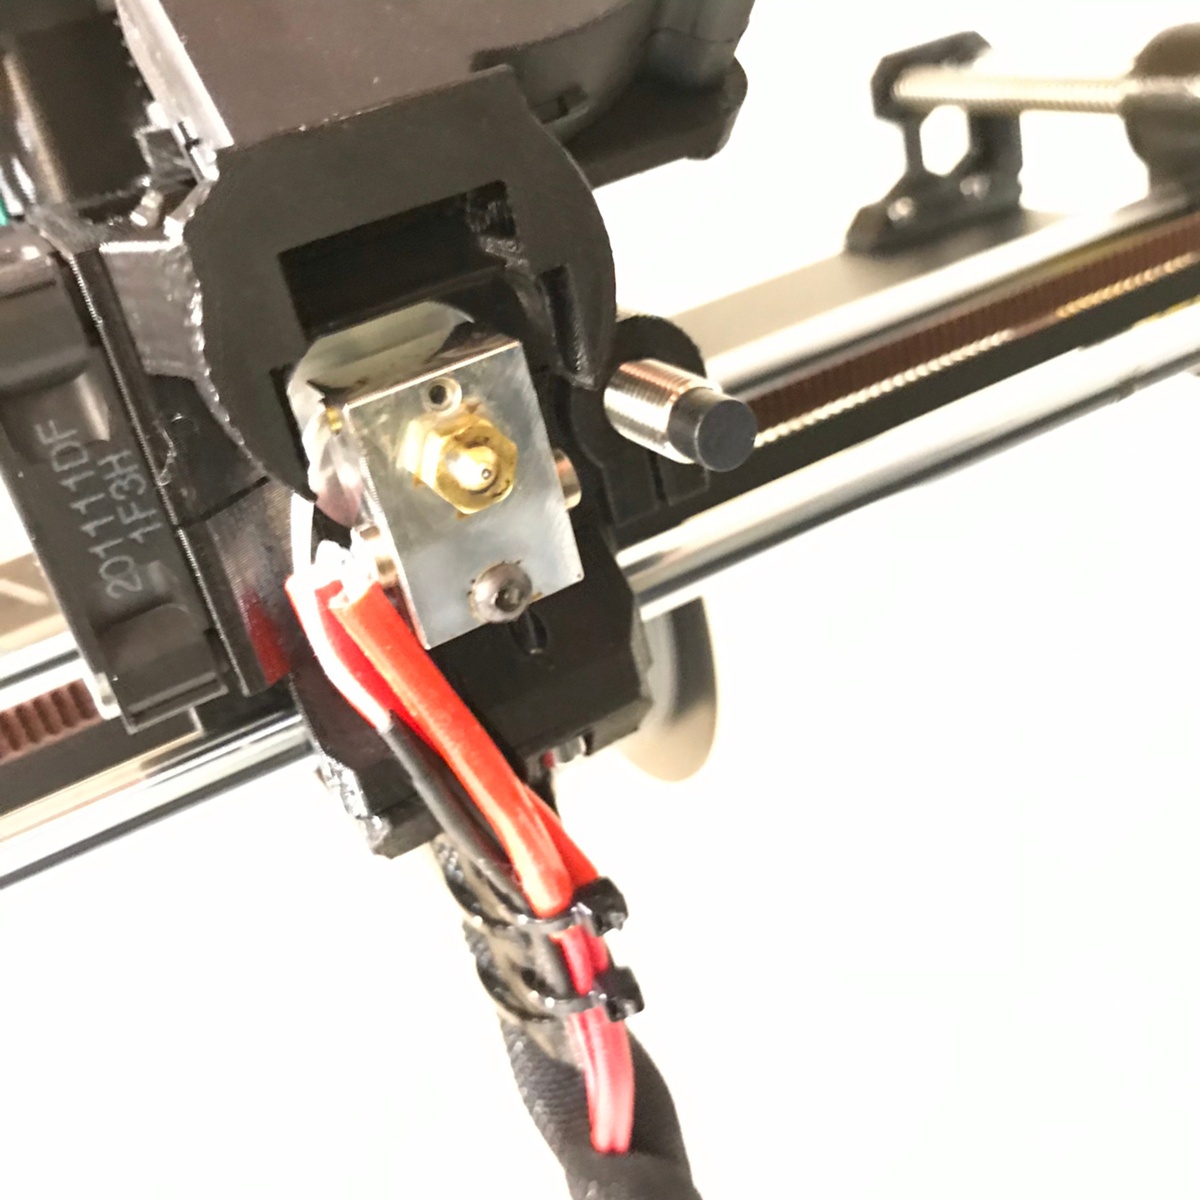
- At some point filament suddenly stopped loading. The reason was that the extruder pulley gear was complettely off where it should be. Put it aligned back, screwed it tight and all was good again.
filament problems
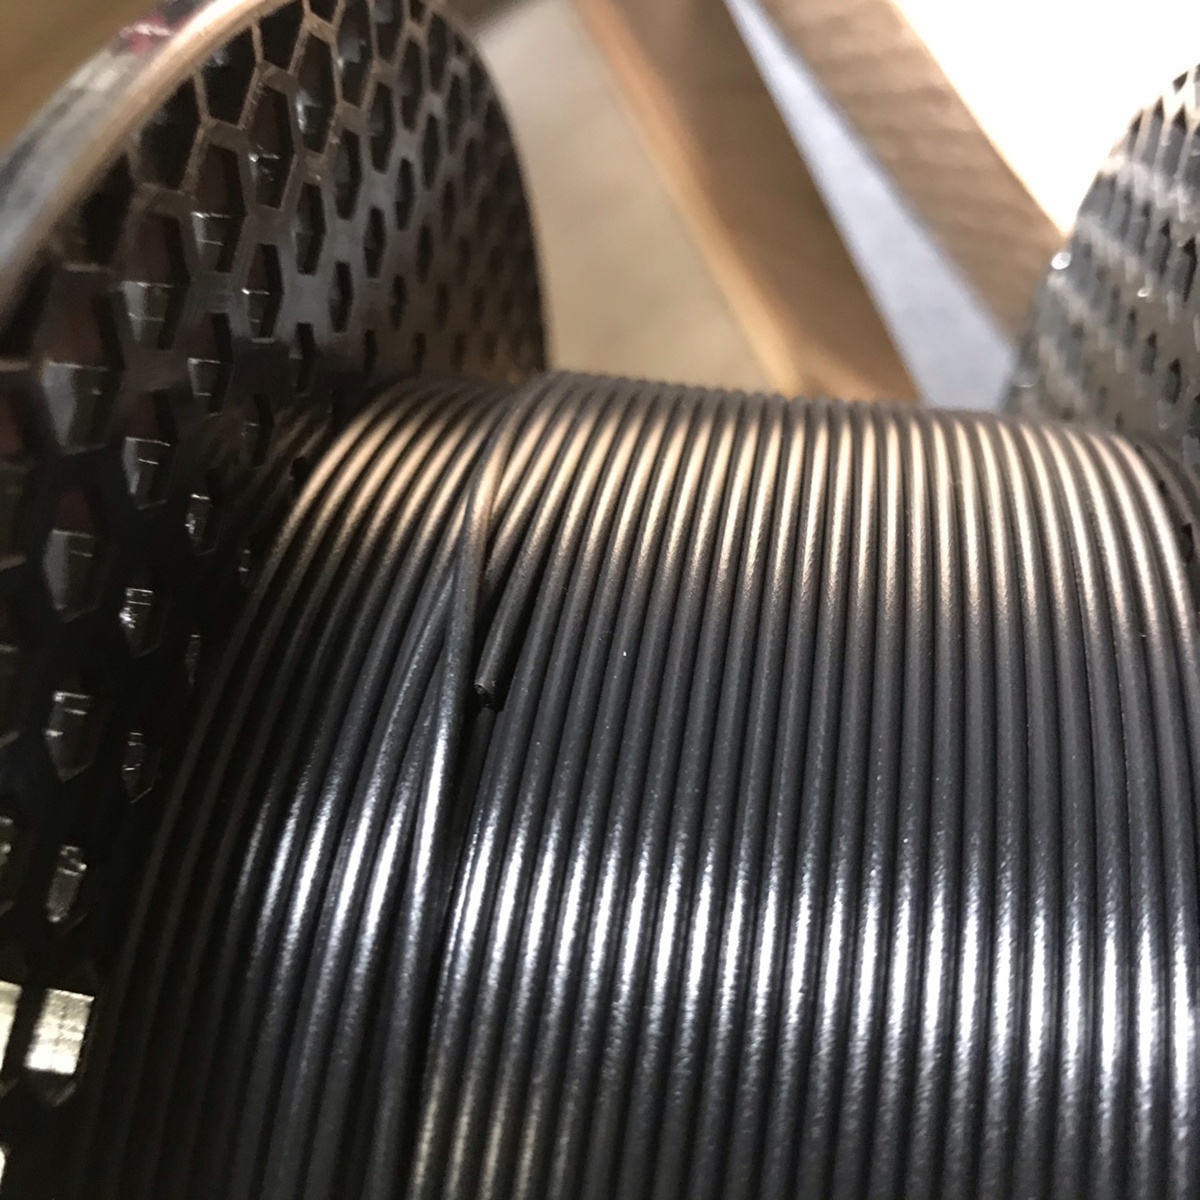 (after hours of printing suddenly knot and the filament
was torn apart)
(after hours of printing suddenly knot and the filament
was torn apart)
 (early after filament switch)
 (got a good answer from Prusa support that after unloading the
filament, the wire end has to be fixed onto the spool dent
so that the wires can not cross → since then I'm being careful
with it)
(got a good answer from Prusa support that after unloading the
filament, the wire end has to be fixed onto the spool dent
so that the wires can not cross → since then I'm being careful
with it)
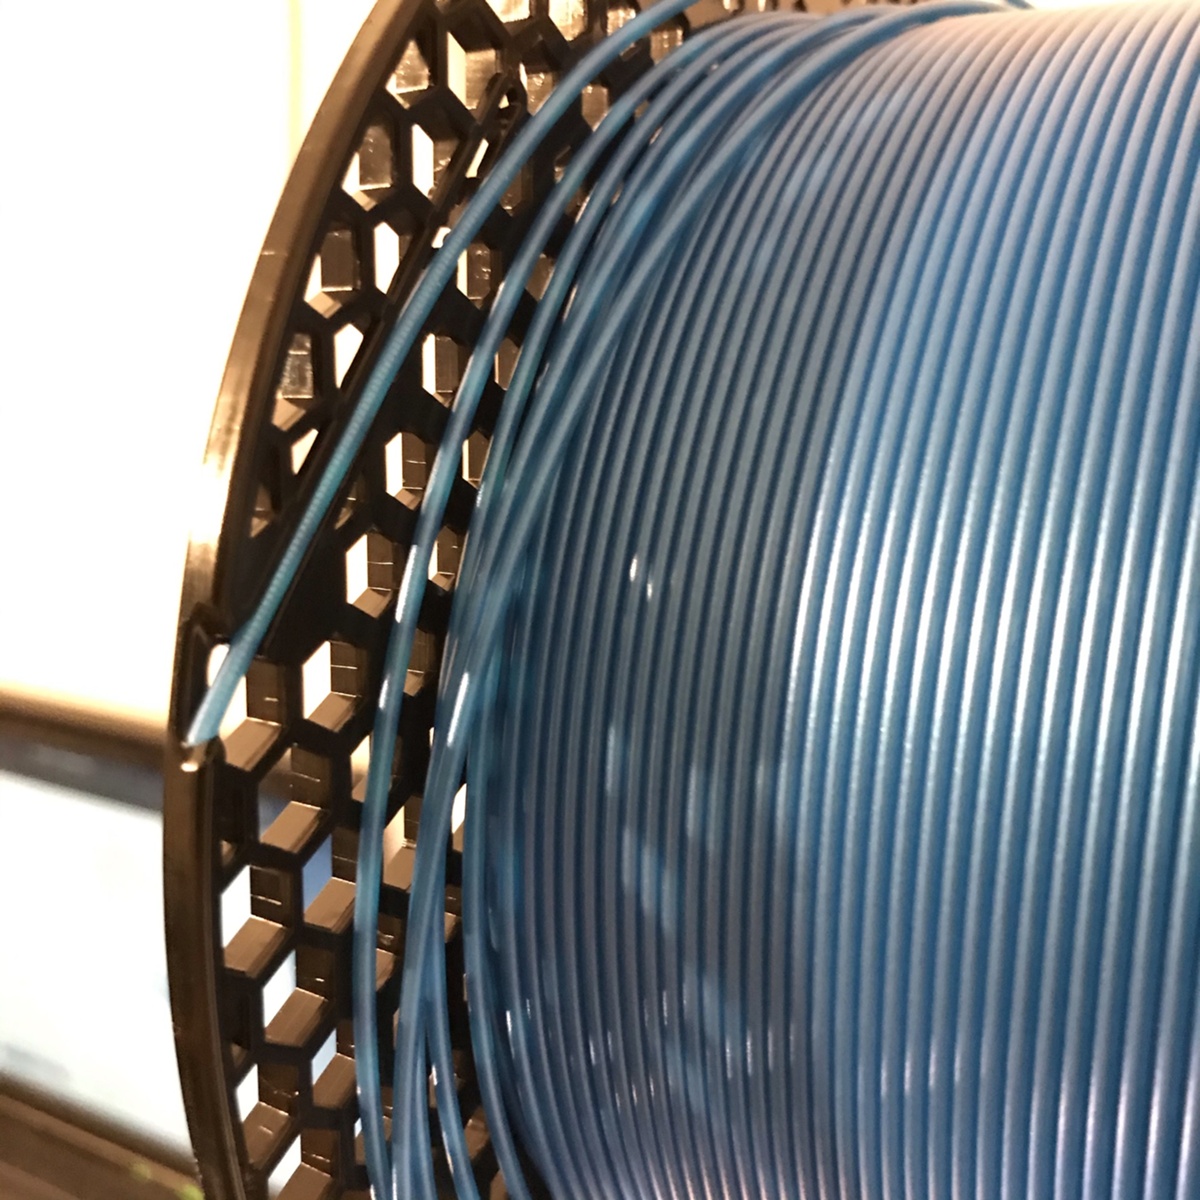
 (filament slipped from the spool to the
side and has knotted itself... printer stopped with "crash"
detected)
(filament slipped from the spool to the
side and has knotted itself... printer stopped with "crash"
detected)